
Description
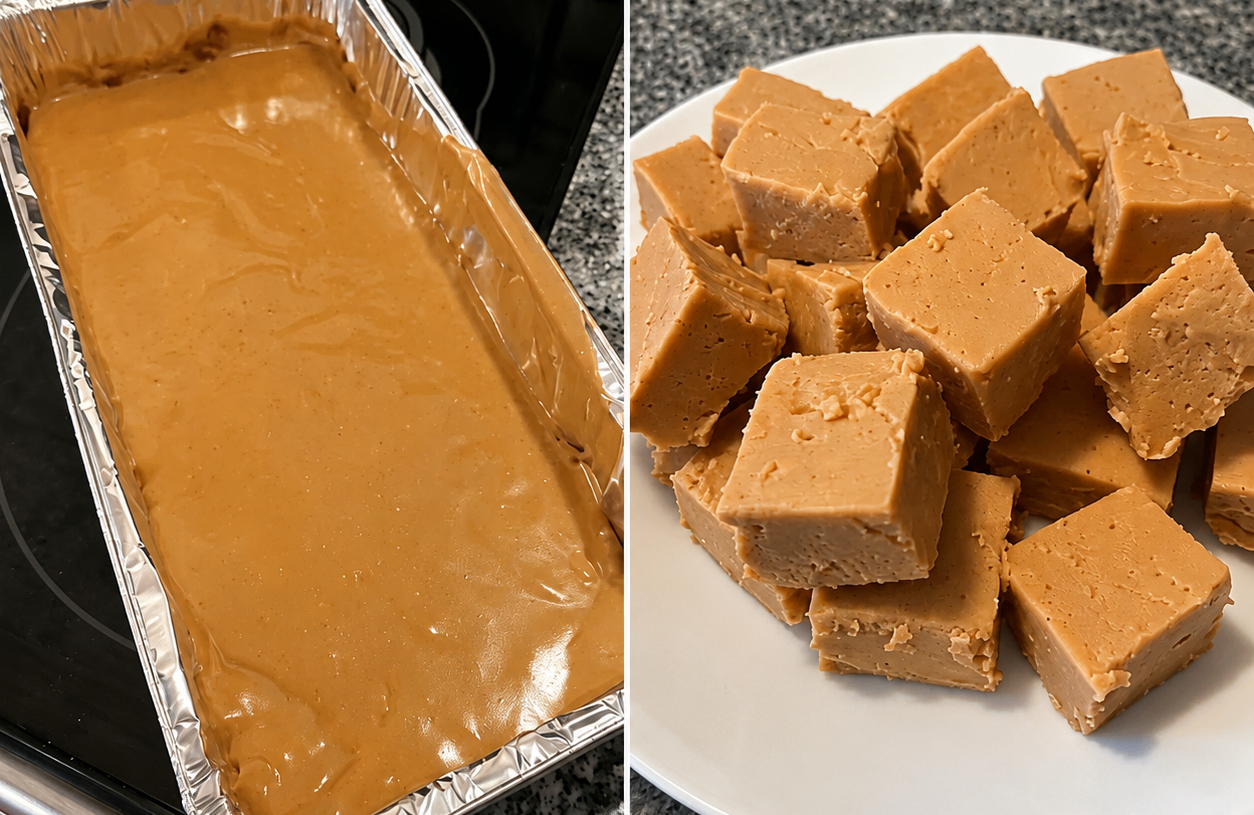
This Sugar-Free Peanut Butter Fudge is rich, creamy, and packed with classic peanut butter flavor without traditional added sugar. Each bite has a soft, melt-in-your-mouth texture that makes it perfect when you’re craving something sweet but want to keep carbohydrates more moderate.
Made with natural peanut butter, cream cheese, and a low-carb sweetener, this recipe is simple enough for beginners and convenient enough for meal prep. It can also fit nicely into a low-carb and high-protein lifestyle when portioned appropriately.
Diabetic-friendly note: This recipe uses sugar-free ingredients and is designed to be lower in carbohydrates than traditional fudge. However, it still contains carbohydrates and calories, so portion size and individual dietary needs matter.
Can This Sugar-Free Peanut Butter Fudge Support Weight Loss Goals?
It can fit into a weight-conscious eating plan when enjoyed in a controlled portion. Peanut butter and cream cheese provide fat and some protein, which can make a small serving satisfying and help it feel more substantial than a traditional sugary candy.
Because fudge is calorie-dense, portion control is especially important. Pairing a small square with a protein-rich meal or snack can help create a more balanced eating pattern.
Does Sugar-Free Peanut Butter Fudge Fit a High-Protein Lifestyle?
This fudge can fit a high-protein lifestyle, although it is better described as a protein-supportive dessert rather than a high-protein food on its own.
Peanut butter and cream cheese provide some protein, while the sugar-free sweetener keeps added sugar low.
Depending on the ingredients used, each piece can contain approximately 3–4 g protein and around 2–3 g net carbs.
For more protein, use powdered peanut butter or add a small amount of vanilla protein powder to the mixture.
Why This Recipe is Special
- Sugar-free: Uses a zero-sugar sweetener instead of traditional granulated sugar.
- Low-carb friendly: Designed with ingredients that can keep net carbohydrates relatively low.
- Creamy texture: Peanut butter and cream cheese create a smooth, rich fudge.
- Quick preparation: The mixture comes together in minutes before chilling.
- No baking required: Simply prepare, chill, slice, and enjoy.
My Personal Experience
- The peanut butter flavor really stands out.
Using creamy peanut butter gives every square a rich, nutty taste without needing complicated flavoring. - I love the soft fudge texture.
Chilling the mixture produces firm squares that still become creamy and tender as they warm slightly in your mouth. - It is especially convenient for cravings.
Cutting the fudge into individual pieces makes it easy to grab a small portion whenever you want something sweet. - The recipe works beautifully for make-ahead treats.
A batch can be prepared in advance and kept refrigerated, making portion-controlled desserts readily available.
Perfect For
This fudge is perfect for quick desserts, afternoon snacks, holiday treat trays, low-carb meal plans, keto-style menus, make-ahead snacks, lunchbox treats, and small after-dinner desserts. It is particularly useful when you want a sweet peanut-butter treat without traditional sugar.
Why You’ll Love This Recipe
- Rich peanut butter flavor
Every bite delivers the familiar creamy taste of peanut butter fudge. - No traditional sugar
A sugar-free sweetener provides sweetness while avoiding regular table sugar. - Easy to make
There is no complicated candy thermometer or lengthy baking process. - Perfectly portionable
Cutting the fudge into small squares makes it easier to enjoy a controlled serving. - Great for meal prep
Store individual pieces in the refrigerator so you have a convenient treat ready to go.
Common Mistakes to Avoid
- Using overly runny peanut butter — Excess oil can prevent the fudge from setting firmly.
- Adding too much liquid — Too much milk or cream can make the fudge soft and difficult to slice.
- Not softening the cream cheese — Cold cream cheese can leave lumps in the finished mixture.
- Cutting it before it is fully chilled — Give the fudge enough time to firm up for clean squares.
Required Equipment
- Small saucepan — Gently melts and combines the ingredients without scorching.
- Rubber spatula — Scrapes the pan clean and creates a smooth mixture.
- Mixing bowl — Provides room for combining the creamy ingredients.
- 8-inch square pan — Creates evenly sized fudge pieces.
- Parchment paper — Makes removing the chilled fudge much easier.
- Sharp knife — Produces neat, clean squares after chilling.
Storage Instructions
Refrigerator: Place the cut fudge squares in an airtight container, separating layers with parchment paper. Refrigerate for up to 7 days.
Freezer: Wrap individual pieces in parchment or plastic wrap and place them in a freezer-safe airtight container or freezer bag. Freeze for up to 2 months.
Thawing: Transfer frozen pieces to the refrigerator and allow them to thaw for several hours before serving.
For convenient portion control, freeze the fudge as individual squares rather than storing the entire batch together.
Recipe Details
- Preparation Time: 10 minutes
- Cooking Time: 5 minutes
- Chilling Time: 2 hours
- Total Time: Approximately 2 hours 15 minutes
- Servings: 24 small squares
- WW Points: Approximately 4 points per square, depending on ingredients and current WW plan
- Best Season: All-season
- Total Calories: Approximately 120 calories per serving; this is an approximate estimate.
- Method: Stovetop + refrigerator
- Air Fryer: Not recommended
Air-fryer note: Fudge should not be cooked in an air fryer. The air fryer can overheat the mixture and change its creamy texture; the stovetop and refrigerator method gives better results.
📝 Ingredients
- 1 cup (250 g) creamy natural peanut butter, unsweetened
- 4 oz (113 g) full-fat or reduced-fat cream cheese, softened
- ¼ cup (60 ml) unsweetened almond milk
- ⅓ cup powdered monk-fruit/erythritol sweetener, or to taste
- 2 tablespoons unsalted butter
- 1 teaspoon vanilla extract
- ¼ teaspoon salt
- 2 tablespoons powdered peanut butter, optional for extra peanut flavor and protein
- 2 tablespoons vanilla protein powder, optional for a higher-protein version
Ingredient note: Use peanut butter without added sugar when possible. Different sugar-free sweeteners have different levels of sweetness, so adjust according to taste.
Directions
1. Prepare the pan
Line an 8-inch square pan with parchment paper, leaving some paper hanging over the sides.
This creates handles that make the chilled fudge easy to lift out.
2. Warm the peanut butter mixture
Place peanut butter and butter in a small saucepan over low heat.
Warm for approximately 2–3 minutes, stirring continuously until smooth and glossy.
Do not use high heat, because peanut butter can scorch and become oily.
3. Add the cream cheese
Add softened cream cheese and continue stirring over low heat for 1–2 minutes.
The mixture should become smooth and creamy with no visible cream-cheese lumps.
4. Add sweetener and flavor
Remove the saucepan from the heat.
Stir in powdered sweetener, vanilla extract, salt, and optional powdered peanut butter or protein powder.
Mix for 30–60 seconds until evenly incorporated.
High-protein tip: If adding protein powder, mix it in gradually to prevent dry pockets and add 1–2 teaspoons of almond milk if the mixture becomes too thick.
5. Transfer to the pan
Pour the warm mixture into the parchment-lined pan.
Use a spatula to spread it into an even layer approximately ½–¾ inch thick.
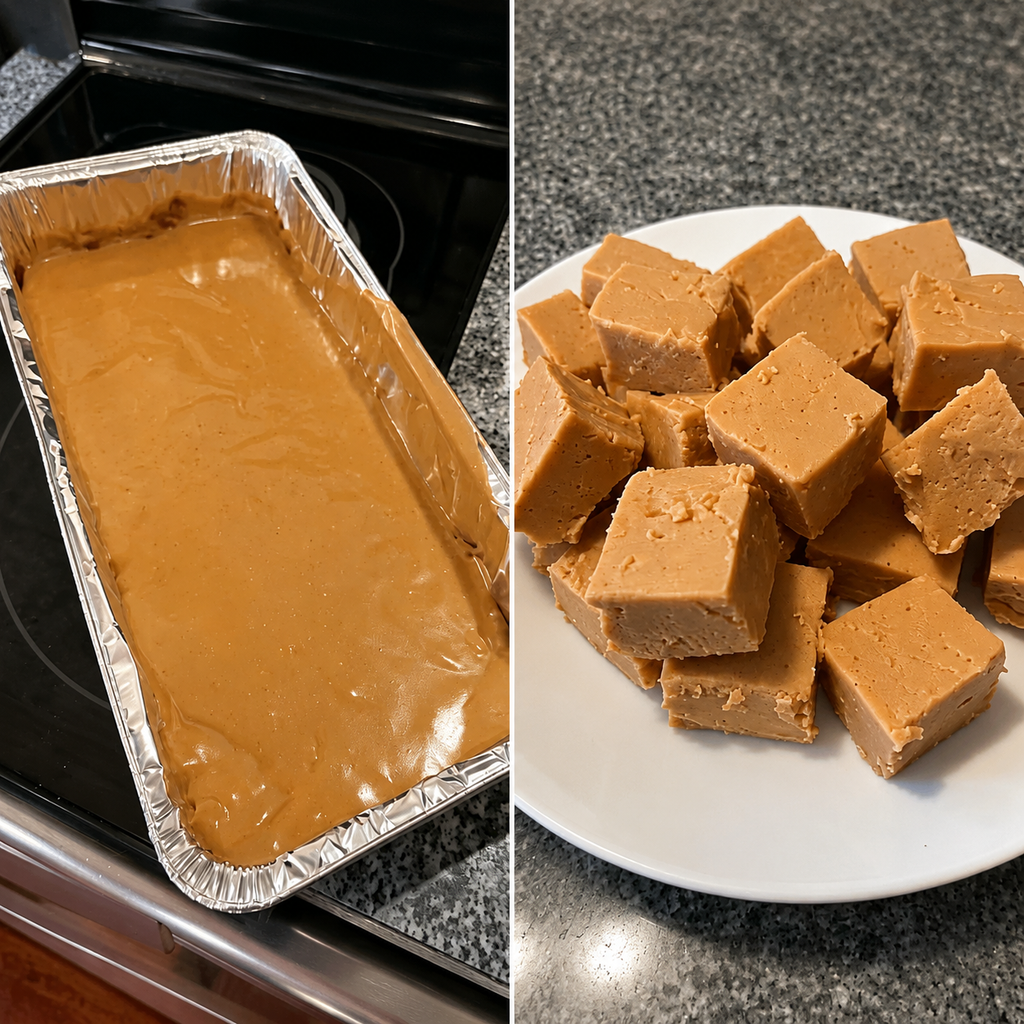
The surface should appear smooth and glossy.
6. Chill
Place the pan in the refrigerator for at least 2 hours.
For the firmest texture, chill for 3–4 hours or overnight.
7. Slice
Lift the chilled fudge from the pan using the parchment handles.
Cut into 24 small squares with a sharp knife.
For cleaner cuts, wipe the knife between slices.
8. Serve
Allow one piece to sit at room temperature for approximately 3–5 minutes before serving.
This gives the fudge a softer, creamier bite.
Nutrition Facts
Per Serving — Approximate
| Nutrient | Amount |
|---|---|
| Calories | ~120 kcal |
| Fat | ~9 g |
| Cholesterol | ~10 mg |
| Sodium | ~90 mg |
| Potassium | ~110 mg |
| Total Carbohydrates | ~5 g |
| Fiber | ~2 g |
| Net Carbs | ~3 g |
| Sugars | ~1 g |
| Protein | ~3–4 g |
| Calcium | ~25 mg |
Nutrition note: These values are approximate and depend heavily on the peanut butter, cream cheese, sweetener, and optional protein powder used.
Notes
- Storage: Refrigerate in an airtight container for up to 7 days.
- Freezing: Freeze individually wrapped pieces for up to 2 months.
- Reheating: No reheating is necessary; serve chilled or slightly softened.
- Allergy note: Contains peanuts and milk. Check labels if using packaged protein powder or chocolate additions.
- Flavor boost: Add ½ teaspoon cinnamon or a small pinch of espresso powder.
- Chocolate variation: Stir in 1 tablespoon unsweetened cocoa powder.
- Crunchy variation: Add 2 tablespoons chopped roasted peanuts.
- Extra protein: Add vanilla protein powder and slightly adjust the liquid as needed.
- Sweetness: Taste the mixture before transferring it to the pan and adjust the sweetener if necessary.
Frequently Asked Questions
1. Is Sugar-Free Peanut Butter Fudge diabetic-friendly?
It can fit a lower-carbohydrate eating pattern, but it still contains calories and carbohydrates, so portion size is important.
2. Can I use crunchy peanut butter?
Yes, crunchy peanut butter adds small pieces of peanuts and gives the fudge a pleasant texture.
3. How long does the fudge take to set?
It generally needs at least 2 hours in the refrigerator to become firm enough to cut.
4. Can I make this fudge without cream cheese?
Yes, but the texture will be different and you may need additional peanut butter or another suitable creamy ingredient.
5. Can I make it higher in protein?
Yes, adding a modest amount of protein powder or powdered peanut butter can increase the protein content.
6. Can I make this in an air fryer?
No, an air fryer is not recommended because this fudge sets best through gentle stovetop preparation followed by refrigeration.