Keto Gooey Butter Cake
Introduction
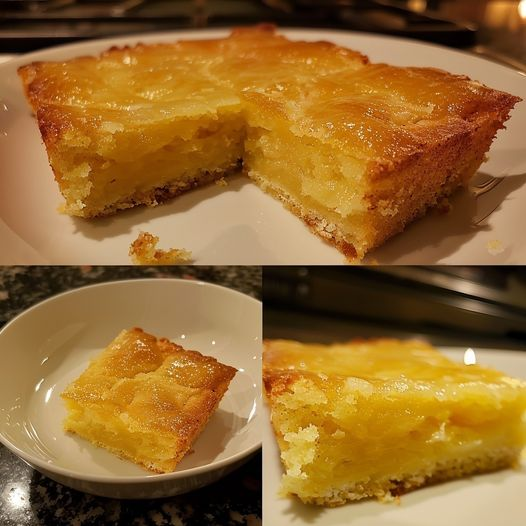
Keto Gooey Butter Cake is a decadent, rich dessert that captures the essence of the classic gooey butter cake while adhering to a low-carb, ketogenic lifestyle. This dessert is characterized by its creamy, sweet filling atop a buttery crust, offering a delightful combination of flavors and textures. Perfect for celebrations, special occasions, or a simple indulgence, this recipe will guide you through each step of creating this delicious treat.
In this comprehensive guide, you will find detailed ingredient measurements, step-by-step instructions, nutritional information, and tips for customizing the recipe to suit your taste preferences. Whether you’re a keto veteran or new to low-carb baking, this recipe will satisfy your sweet cravings without compromising your dietary goals.
Ingredients
For the Crust:
- 1 ½ cups almond flour
- 1/4 cup unsweetened cocoa powder
- 1/2 cup powdered erythritol (or your preferred low-carb sweetener)
- 1/2 teaspoon baking powder
- 1/4 teaspoon salt
- 1/2 cup unsalted butter, melted
- 1 large egg
- 1 teaspoon vanilla extract
For the Filling:
- 8 oz (1 package) cream cheese, softened
- 1/2 cup powdered erythritol (or your preferred low-carb sweetener)
- 2 large eggs
- 1 teaspoon vanilla extract
- 1/2 cup heavy cream
- 1/4 cup almond flour
- 1/4 teaspoon salt
For Topping:
- Powdered erythritol, for dusting (optional)
- Fresh berries (optional, for garnish)

Nutritional Information (Per Serving, makes about 12 servings)
- Calories: 210
- Total Fat: 18g
- Saturated Fat: 9g
- Cholesterol: 75mg
- Sodium: 150mg
- Total Carbohydrates: 5g
- Dietary Fiber: 2g
- Net Carbohydrates: 3g
- Sugars: 1g
- Protein: 4g
SmartPoints (WW)
- SmartPoints: 5 (based on the current WW system)
Detailed Instructions
Step 1: Gather Your Ingredients
Start by gathering all your ingredients. Having everything measured and ready will streamline the baking process and ensure that you don’t miss any key components.
Step 2: Preheat the Oven
Preheat your oven to 350°F (175°C). This ensures that your cake will bake evenly and rise properly.
Step 3: Prepare the Crust
- In a medium bowl, combine 1 ½ cups of almond flour, 1/4 cup of unsweetened cocoa powder, 1/2 cup of powdered erythritol, 1/2 teaspoon of baking powder, and 1/4 teaspoon of salt. Mix well until fully combined.
- In a separate bowl, whisk together 1/2 cup of melted unsalted butter, 1 large egg, and 1 teaspoon of vanilla extract until smooth.
- Pour the wet ingredients into the dry ingredients and mix until a dough forms. The dough will be thick and slightly sticky.
Step 4: Press the Crust into the Pan
- Grease a 9×9-inch (or 8×8-inch) square baking dish with non-stick spray or line it with parchment paper.
- Transfer the crust mixture into the prepared baking dish. Using your hands or a spatula, press the dough evenly into the bottom of the pan, creating a smooth layer.
Step 5: Bake the Crust
Place the crust in the preheated oven and bake for 10 minutes. This step helps to set the base of the cake and prevents it from becoming soggy once the filling is added.
Step 6: Prepare the Filling
- In a large mixing bowl, beat 8 oz of softened cream cheese with an electric mixer until smooth and creamy.
- Add 1/2 cup of powdered erythritol and continue to mix until well combined, scraping down the sides as necessary.
- Add 2 large eggs, 1 teaspoon of vanilla extract, and 1/2 cup of heavy cream. Beat until the mixture is smooth and well incorporated.
- Finally, add 1/4 cup of almond flour and 1/4 teaspoon of salt. Mix again until fully combined.
Step 7: Pour the Filling
Once the crust has baked for 10 minutes, remove it from the oven. Carefully pour the creamy filling over the baked crust, spreading it evenly with a spatula.
Step 8: Bake the Cake
Return the baking dish to the oven and bake for an additional 30-35 minutes. The edges should be set, while the center will remain slightly jiggly, creating that signature gooey texture.
Step 9: Cool and Set
After baking, remove the cake from the oven and allow it to cool in the pan for about 15-20 minutes. Then, transfer it to the refrigerator to chill for at least 2 hours. Chilling helps the filling set and enhances the flavors.
Step 10: Slice and Serve
Once chilled, slice the cake into squares and serve. If desired, dust the top with powdered erythritol for a touch of sweetness and garnish with fresh berries.
Step 11: Storage Tips
Store any leftover cake in an airtight container in the refrigerator for up to 5 days. The flavors will continue to meld and improve as it sits.
Step 12: Customization Options
Feel free to customize your gooey butter cake by adding flavors such as almond extract, lemon zest, or even a swirl of low-carb chocolate sauce for extra indulgence.
Step 13: Health Considerations
This cake is a low-carb alternative to traditional butter cakes, making it suitable for those following a ketogenic diet. It offers a good source of healthy fats from the cream cheese and butter, while keeping carbohydrates to a minimum.
Step 14: Perfect for Special Occasions
Keto Gooey Butter Cake is an excellent dessert option for celebrations, potlucks, or family gatherings. Its rich and creamy texture is sure to impress guests, regardless of their dietary preferences.
Step 15: Pairing Suggestions
This cake pairs wonderfully with a cup of coffee or tea. You can also serve it alongside whipped coconut cream for an extra layer of creaminess.
Step 16: Ideal for Meal Prep
This dessert can be made in advance, making it perfect for meal prep. Bake a batch over the weekend, and you’ll have a delicious treat ready to enjoy throughout the week.
Step 17: Kids Will Love It
While this cake is keto-friendly, its rich flavor and gooey texture make it appealing to kids. Serve it at family gatherings, and you might be surprised at how quickly it disappears!
Step 18: Variations to Try
Consider experimenting with different flavors by incorporating unsweetened cocoa powder for a chocolate version, or using pumpkin puree for a seasonal twist.
Step 19: Gluten-Free Friendly
This recipe is naturally gluten-free, making it suitable for those with gluten sensitivities or celiac disease. Be sure to check your almond flour to ensure it is certified gluten-free.
Step 20: Final Thoughts
Keto Gooey Butter Cake is a deliciously indulgent treat that perfectly balances flavor and texture while adhering to a ketogenic lifestyle. With its creamy filling and buttery crust, it’s a dessert you’ll want to make time and time again.
Conclusion
This recipe showcases how satisfying keto desserts can be without sacrificing taste or texture. With its rich flavors and gooey goodness, Keto Gooey Butter Cake is sure to become a favorite among your collection of low-carb desserts. Enjoy this sweet treat and embrace the joy of keto baking!