
Description
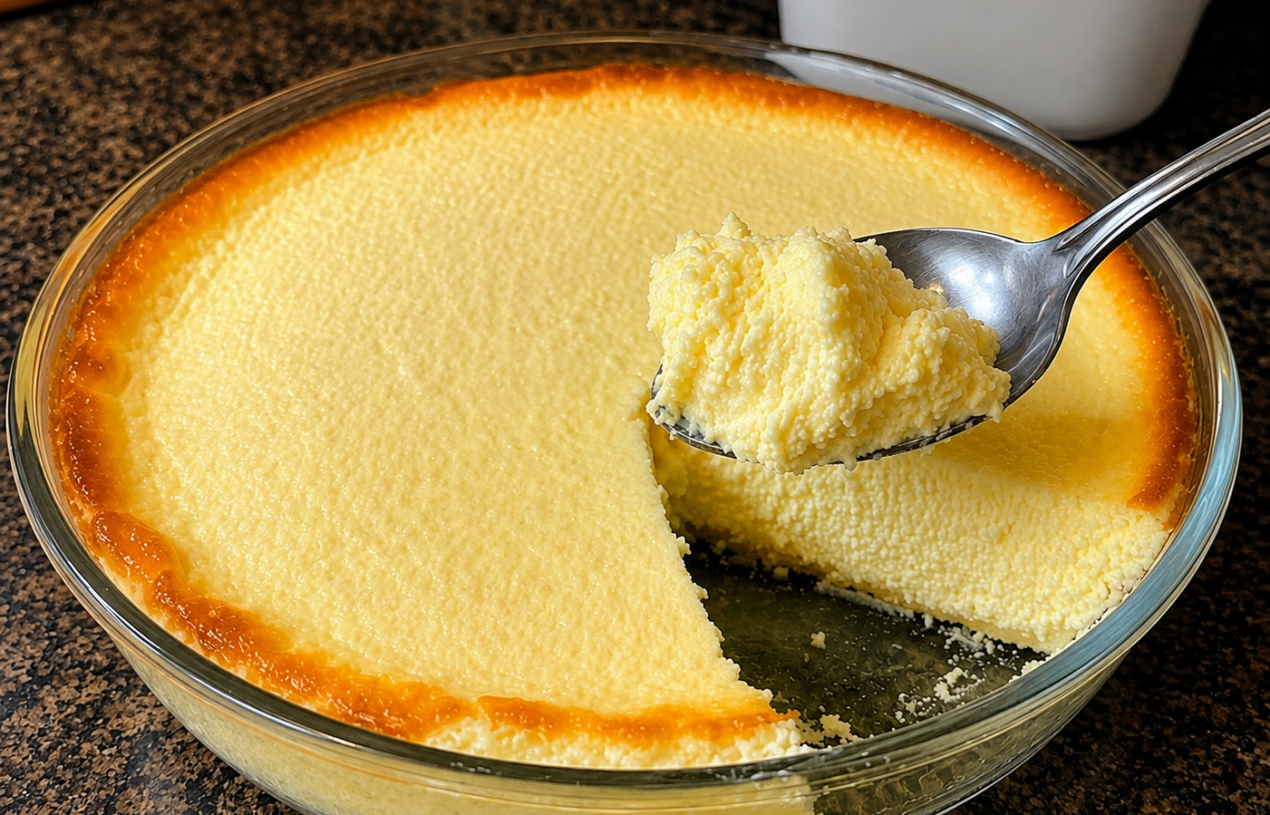
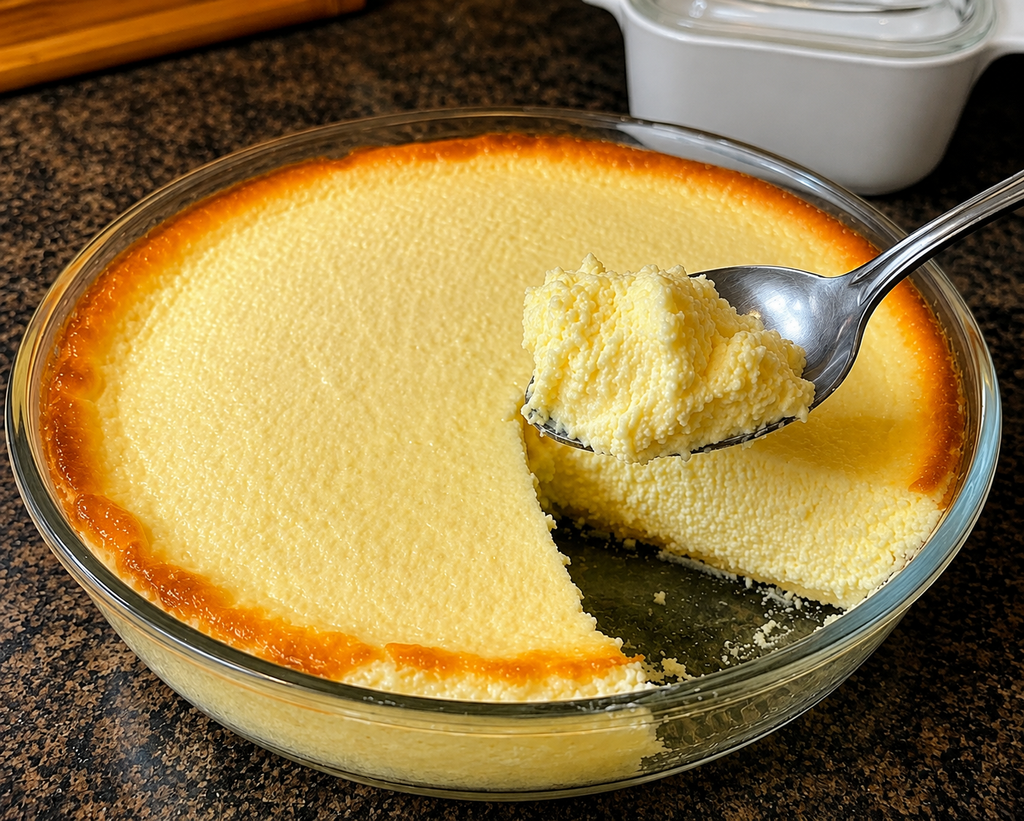
This diabetic-friendly high-protein cheesecake is rich, creamy, and wonderfully smooth, with a lightly golden edge and a soft, custard-like center. It uses cream cheese, Greek yogurt, and eggs to create a protein-friendly dessert while keeping traditional added sugar and refined flour out of the recipe.
A low-carb sweetener provides sweetness without relying on conventional sugar, while vanilla and a touch of lemon brighten the creamy filling. The result is a comforting cheesecake that feels indulgent while fitting more easily into a lower-carb eating pattern.
Can This Cheesecake Support Weight Loss Goals?
This cheesecake can fit into a weight-conscious eating pattern when enjoyed in a sensible portion. Its combination of Greek yogurt, eggs, and cream cheese provides protein and fat that can make a serving more satisfying than a conventional sugar-heavy dessert. Keeping the recipe portion-controlled and considering its calories within your overall daily intake is important.
Does This Cheesecake Fit a High-Protein Lifestyle?
Yes, this version includes Greek yogurt, eggs, and cream cheese to increase its protein content. Each serving provides approximately 12–13g of protein while keeping net carbohydrates relatively low at about 4g per serving. Using a granulated low-carb sweetener instead of regular sugar also reduces the recipe’s traditional carbohydrate load. It works especially well as a protein-conscious dessert or snack.
Why This Recipe is Special
- High-protein: Greek yogurt and eggs add substantial protein to each serving.
- Low-carb: No regular flour or granulated sugar is used in the filling.
- Creamy texture: Greek yogurt and cream cheese create a smooth, rich center.
- Simple ingredients: The recipe uses everyday baking ingredients without complicated techniques.
- Classic comfort: It delivers the familiar flavor and texture of traditional cheesecake in a lighter carbohydrate format.
My Personal Experience
- The texture is incredibly creamy.
Greek yogurt gives the cheesecake a smooth, delicate center without making it overly heavy. - The golden edge looks beautiful.
A slightly deeper-colored perimeter provides an appealing contrast to the pale creamy center. - The lemon adds just enough brightness.
A small amount of lemon zest and juice balances the richness of the cream cheese. - It slices beautifully after chilling.
Giving the cheesecake enough refrigeration time helps the center firm up for clean slices. - It feels genuinely indulgent.
The creamy filling makes this lower-carb version satisfying enough to serve as a special dessert.
Perfect For
This cheesecake is ideal for weekend desserts, family gatherings, afternoon snacks, meal-prep desserts, birthdays, dinner parties, and low-carb meal plans. It is especially convenient for meal prep because the cheesecake can be sliced into individual portions and refrigerated for several days.
Serve it plain for the lowest-carbohydrate option, or add a few fresh berries for extra color and natural flavor.
Why You’ll Love This Recipe
- Silky and creamy: The filling bakes into a soft, custard-like texture that melts in your mouth.
- Protein-friendly: Greek yogurt and eggs make it more protein-rich than many traditional cheesecakes.
- Lower in carbs: The recipe avoids regular flour and uses a low-carb sweetener.
- Easy to prepare: The filling comes together in one main mixing bowl with minimal preparation.
- Make-ahead friendly: Chilling improves both the texture and flavor, making it excellent for preparing ahead.
Common Mistakes to Avoid
- Using cold cream cheese: Cold cream cheese can leave lumps in the batter; softened cream cheese creates a much smoother filling.
- Overmixing after adding the eggs: Excessive mixing incorporates air, which can cause the cheesecake to puff and crack during baking.
- Overbaking: The center should still have a gentle wobble when the cheesecake is removed from the oven.
- Cutting it too soon: Cheesecake needs adequate chilling time to fully set and develop its creamy texture.
Required Equipment
- 9-inch round pie or cheesecake pan — Provides an even baking depth and attractive presentation.
- Large mixing bowl — Gives enough room to combine the filling smoothly.
- Electric hand mixer — Quickly creates a lump-free cream cheese mixture.
- Rubber spatula — Scrapes the bowl clean and folds ingredients gently.
- Measuring cups and spoons — Keep the ingredient ratios consistent.
- Wire cooling rack — Allows the cheesecake to cool evenly before refrigeration.
- Sharp knife — Produces cleaner slices when warmed and wiped between cuts.
Storage Instructions
Once completely cooled, cover the cheesecake tightly or transfer slices to an airtight refrigerator-safe container. Refrigerate for up to 5 days.
For freezing, cut the cheesecake into individual portions and wrap each slice tightly before placing it inside a freezer-safe container or bag. Freeze for up to 2 months for the best texture.
Thaw frozen slices overnight in the refrigerator. Keeping individual portions separated makes it easier to enjoy a controlled serving while preserving the recipe’s protein-friendly nutritional profile.
Recipe Details
Preparation Time: 15 minutes
Cooking Time: 40–50 minutes
Total Time: About 5 hours including chilling
Servings: 10 slices
Best Season: All-season
Total Calories: Approximately 205 calories per serving
Short 3-Line Description
Creamy, smooth, and lightly golden, this cheesecake is a delicious lower-carb twist on a classic dessert.
Greek yogurt, eggs, and cream cheese provide a protein-friendly combination without regular sugar or flour.
Chill it well for the perfect firm-yet-creamy slice.
📝 Ingredients
Cheesecake Filling
- 16 oz (454 g) full-fat cream cheese, softened
- 1 cup plain Greek yogurt, unsweetened
- 3 large eggs, room temperature
- ½ cup granulated allulose or another suitable low-carb sweetener
- 1 teaspoon vanilla extract
- 1 tablespoon fresh lemon juice
- 1 teaspoon finely grated lemon zest
- 2 tablespoons almond flour
- ¼ teaspoon salt
Optional Low-Carb Topping
- ½ cup fresh strawberries or raspberries, sliced
- 2 tablespoons unsweetened Greek yogurt
Ingredient note: Use plain, unsweetened Greek yogurt and check the nutrition label of your sweetener because carbohydrate and calorie values vary between brands. If using a sweetener other than allulose, sweetness and baking behavior may differ.
Directions
- Preheat the oven.
Heat the oven to 325°F (165°C). Lightly grease a 9-inch round baking dish or cheesecake pan. - Soften the cream cheese.
Allow the cream cheese to reach room temperature. It should be soft enough to press easily with a spatula. - Beat the cream cheese.
Place the softened cream cheese in a large bowl and beat on low to medium speed for 1–2 minutes until completely smooth. - Add the yogurt and sweetener.
Mix in the Greek yogurt and allulose until smooth. Scrape down the sides of the bowl to ensure there are no lumps. - Add the flavorings.
Add vanilla extract, lemon juice, lemon zest, almond flour, and salt. Mix briefly until evenly incorporated. - Add the eggs carefully.
Add the eggs one at a time, mixing on low speed just until each egg disappears into the batter. Avoid whipping the mixture. - Check the texture.
The finished batter should be pale, smooth, thick, and pourable with no visible cream cheese lumps. - Pour into the pan.
Transfer the filling into the prepared pan. Smooth the surface with a rubber spatula. - Bake gently.
Bake at 325°F (165°C) for approximately 40–50 minutes. The edges should look set and lightly golden while the center should still have a slight jiggle. - Turn off the oven.
When the cheesecake is finished, turn off the oven and leave the door slightly open. Let the cheesecake rest inside for about 15 minutes. This gradual temperature change can help minimize cracking. - Cool completely.
Remove the cheesecake and place it on a wire rack. Let it cool at room temperature for about 30–45 minutes. - Refrigerate.
Cover the cheesecake and refrigerate for at least 4 hours, preferably overnight. The filling will become firmer and creamier as it chills. - Slice and serve.
Run a sharp knife under warm water, wipe it dry, and slice the cheesecake. Clean and rewarm the knife between cuts for neat portions.
High-Protein Cooking Tips
- Use plain Greek yogurt with a high protein content for the best protein contribution.
- Avoid replacing the Greek yogurt with a thin, watery yogurt because it can affect the cheesecake’s structure.
- Do not add excessive protein powder directly to the filling because it can make the cheesecake dense or dry.
- Chill the cheesecake thoroughly before serving because the cold temperature improves both texture and sliceability.
Nutrition Facts — Per Serving (Approximate)
Based on 10 servings and calculated using typical ingredient values; actual nutrition varies by brands and sweeteners.
- Calories: ~205 kcal
- Fats: ~16 g
- Cholesterol: ~95 mg
- Sodium: ~260 mg
- Potassium: ~150 mg
- Total Carbohydrates: ~6 g
- Fiber: ~1.5 g
- Net Carbs: ~4.5 g
- Sugars: ~2.5 g
- Protein: ~12–13 g
- Calcium: ~150–180 mg
Notes
- Storage: Refrigerate covered for up to 5 days; freeze individual portions for up to 2 months.
- Reheating: Cheesecake is best served chilled and generally does not need reheating.
- Allergy notes: Contains milk, eggs, and almonds; use a certified allergen-safe protein or sweetener if required.
- Flavor boost: Add extra lemon zest, a small amount of almond extract, or a pinch of cinnamon for a different flavor profile.
- Topping: Fresh raspberries or strawberries provide a colorful topping without requiring a sugary fruit sauce.
- Crust option: For an even lower-carb cheesecake, serve it crustless as written; alternatively, a thin almond-flour crust can be added, but it will increase the calories and carbohydrates.
- Sweetener note: Allulose tends to produce a soft, smooth texture, while other sugar substitutes may crystallize or behave differently after chilling.
- Diabetic-friendly consideration: This recipe is designed without traditional granulated sugar and is relatively low in carbohydrates, but it is not automatically appropriate for every individual with diabetes; portions and total carbohydrate intake should be considered according to personal dietary needs.
Frequently Asked Questions
1. Is this cheesecake diabetic-friendly?
It is designed as a lower-carbohydrate, no-added-sugar alternative to conventional cheesecake, but individual dietary needs and portion sizes should still be considered.
2. Is this cheesecake keto-friendly?
The crustless version can fit many keto-style meal plans because it contains relatively few net carbohydrates per serving.
3. Can I use low-fat cream cheese?
Yes, although low-fat cream cheese can produce a slightly less rich and creamy texture.
4. Why did my cheesecake crack?
Overmixing, overbaking, or rapid temperature changes can contribute to cracking.
5. How long should cheesecake chill before serving?
For the best texture, refrigerate it for at least 4 hours, although overnight chilling is even better.
6. Can I add berries?
Yes, a small serving of fresh strawberries or raspberries makes an excellent topping and adds natural color and flavor.