Keto Garlic Cheese Fingers – A Low Carb, Savory Snack for Your Keto Lifestyle
Introduction
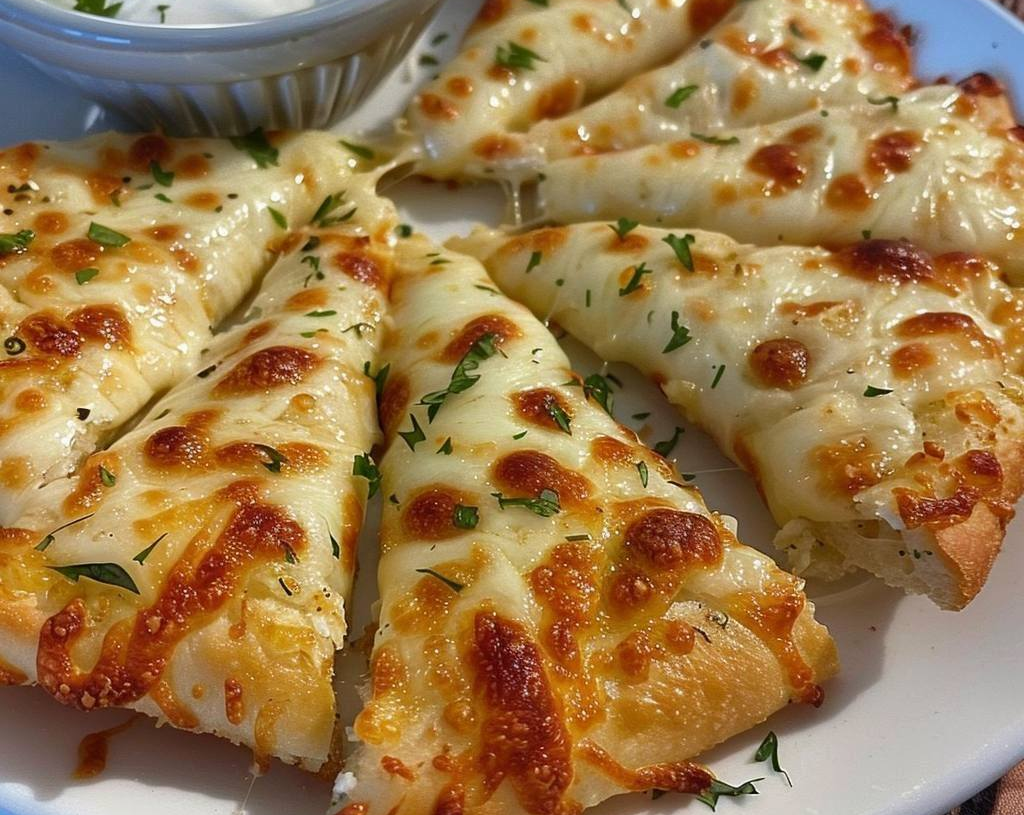
When you’re on a ketogenic (keto) or low-carb diet, one of the greatest challenges is finding satisfying, low-carb snack options. Traditional breadsticks or garlic bread are high in carbs, making them unsuitable for those trying to stay in ketosis. But fear not! We have the perfect solution: Keto Garlic Cheese Fingers. These cheesy, garlicky breadsticks are the ultimate keto-friendly treat. Soft and chewy on the inside, with a crispy, golden crust on the outside, these low-carb garlic cheese fingers will satisfy your cravings without kicking you out of ketosis.
This recipe uses almond flour and mozzarella cheese as the base, providing a low-carb alternative that’s rich in healthy fats, high in protein, and gluten-free. Whether you’re serving them as a snack, appetizer, or side dish, these garlic cheese fingers will become your go-to keto-friendly breadstick replacement. Let’s dive into the detailed recipe, ingredients, nutritional breakdown, and step-by-step instructions so you can make these delicious cheese fingers in the comfort of your own kitchen.
Ingredients for Keto Garlic Cheese Fingers:
- Almond Flour: 2 cups (240g)
Almond flour is a cornerstone in many keto recipes, offering a low-carb, gluten-free alternative to regular flour. It’s a great source of healthy fats and protein and is key in making the dough for these cheese fingers soft yet firm. Almond flour is perfect for creating the chewy, bread-like texture you crave without the carbs. - Shredded Mozzarella Cheese: 2 cups (200g)
Mozzarella is a fantastic cheese for keto recipes due to its mild flavor, smooth texture, and low-carb content. It plays an essential role in binding the dough, helping it come together into a dough that can be shaped and baked into breadsticks. The mozzarella cheese also adds delicious stretch and meltiness to the rolls. - Cream Cheese: 4 oz (115g)
Cream cheese is used to add moisture and richness to the dough, ensuring that the garlic cheese fingers are soft and tender. It also helps balance the flavors and adds a slight tangy taste, which enhances the overall flavor profile. - Eggs: 2 large
Eggs provide structure and richness to the dough, making it easier to shape into fingers. They also act as a binder to hold all the ingredients together while keeping the roll moist and tender. - Baking Powder: 1 teaspoon
Baking powder is crucial for adding a little rise to the dough, giving it the light and airy texture that mimics traditional breadsticks. It ensures the dough doesn’t turn out dense. - Garlic Powder: 1 teaspoon
Garlic powder gives the cheese fingers that essential garlic flavor, enhancing the overall savory profile. It pairs perfectly with the cheese, making the rolls aromatic and full of flavor. - Salt: 1/2 teaspoon
Salt enhances all the other flavors in the dough and balances the richness of the mozzarella cheese and cream cheese. It also adds a savory kick that’s perfect for garlic cheese fingers. - Ground Black Pepper: 1/4 teaspoon
Black pepper adds a subtle spice that complements the garlic flavor and adds depth to the taste of the cheese fingers. - Olive Oil: 1 tablespoon
Olive oil is used for greasing the pan and helping with the texture of the cheese fingers. It also gives a slight richness and helps the garlic cheese fingers crisp up while baking. - Fresh Parsley (optional): 1 tablespoon
Fresh parsley can be sprinkled on top for a pop of color and a fresh, herbaceous flavor. It’s optional but adds an extra touch of freshness.
Step-by-Step Instructions to Make Keto Garlic Cheese Fingers:
Step 1: Preheat the Oven and Prepare the Baking Sheet
Start by preheating your oven to 375°F (190°C). Line a baking sheet with parchment paper to prevent the cheese fingers from sticking and to ensure they bake evenly. The parchment paper will also make clean-up a breeze.
Step 2: Melt the Mozzarella and Cream Cheese
In a microwave-safe bowl, combine the shredded mozzarella cheese and cream cheese. Microwave in 30-second intervals, stirring after each interval, until the cheese is fully melted and smooth. This will usually take about 1-2 minutes, depending on the power of your microwave. Stir the mixture well until it is smooth and lump-free.
Step 3: Combine the Wet Ingredients
In a separate bowl, beat the eggs. Once beaten, add the melted cheese and cream cheese mixture to the eggs and stir until fully combined. You’ll notice that the mixture will thicken, but this is normal. The eggs help to give the cheese fingers their structure.
Step 4: Mix the Dry Ingredients
In another large bowl, combine the almond flour, baking powder, garlic powder, salt, and black pepper. Whisk together to ensure that all the dry ingredients are well distributed and there are no lumps.
Step 5: Combine Wet and Dry Ingredients
Gradually add the dry ingredients to the wet ingredients, mixing with a spatula or your hands until a dough forms. The dough may be sticky, but that’s okay. If it’s too sticky to handle, you can lightly grease your hands with olive oil or almond flour.
Step 6: Shape the Dough into Fingers
Once the dough is mixed and smooth, use your hands to form it into finger-like shapes. Roll small portions of the dough into logs, about 4-5 inches long, depending on your preferred thickness. You should be able to make around 10-12 fingers. Place the dough fingers onto the prepared baking sheet, leaving some space between each one.
Step 7: Bake the Garlic Cheese Fingers
Place the baking sheet in the oven and bake for about 12-15 minutes or until the cheese fingers are golden brown and firm to the touch. Keep an eye on them toward the end to avoid overbaking. If you prefer a crispier texture, you can bake them for an additional 2-3 minutes.
Step 8: Prepare the Garlic Butter Topping
While the cheese fingers are baking, melt 1 tablespoon of butter in a small pan over low heat. Add 1/2 teaspoon of garlic powder and stir to combine. Once the cheese fingers are out of the oven, brush them generously with the garlic butter mixture to give them an extra boost of flavor.
Step 9: Garnish and Serve
Once your cheese fingers are out of the oven, garnish with fresh chopped parsley for a touch of color and freshness. Serve them warm as a delicious, low-carb appetizer or side dish, or enjoy them as a savory snack.
Nutritional Information (Per Serving – 2 Fingers):
These keto garlic cheese fingers are not only delicious but also provide great nutritional value for those following a low-carb or keto diet. Here’s a breakdown of the nutritional values per serving (2 fingers):
- Calories: 250 kcal
- Fat: 21g
- Protein: 14g
- Total Carbs: 5g
- Fiber: 3g
- Net Carbs: 2g
- Sugars: 1g
- Sodium: 400mg
SmartPoints (WW – Weight Watchers):
For those following the Weight Watchers (WW) program, these garlic cheese fingers are a great low-point option. Based on the SmartPoints calculation for the ingredients used in this recipe, each serving of 2 fingers contains 4 SmartPoints on the Blue and Purple plans. On the Green plan, the SmartPoints are slightly higher at 6 points for the same serving size. These are relatively low in points, making them an ideal option for those who want to stay within their daily points while enjoying a flavorful, cheesy snack.
Useful Tips and Variations:
- Make Them Extra Cheesy: If you love cheese, feel free to add an extra 1/2 cup of shredded mozzarella cheese or experiment with other cheese varieties, such as cheddar or parmesan. This will make the cheese fingers even more indulgent and rich in flavor.
- Use Different Herbs and Spices: You can customize the flavor by adding oregano, thyme, or rosemary to the dough. A sprinkle of crushed red pepper flakes will add a spicy kick to your garlic cheese fingers.
- Make It a Full Meal: Serve these garlic cheese fingers alongside a rich keto marinara sauce for dipping. The combination of melted cheese, garlic, and savory tomato sauce will satisfy your cravings for traditional garlic breadsticks.
- Add a Protein Boost: If you want to turn these cheese fingers into a complete meal, you can add a scoop of protein powder or whey protein isolate to the dough to increase the protein content. Just be mindful of the consistency and moisture of the dough.
Storing and Freezing Keto Garlic Cheese Fingers:
- Storing: These keto garlic cheese fingers are best enjoyed fresh out of the oven. However, if you have leftovers, you can store them in an airtight container at room temperature for up to 3 days. For longer storage, refrigerate them to maintain their freshness.
- Freezing: To freeze, allow the cheese fingers to cool completely. Place them in a freezer-safe bag or container, separating them with parchment paper to prevent them from sticking together. These cheese fingers can be stored in the freezer for up to 2 months. To reheat, simply microwave or bake in
the oven at 350°F (175°C) for 5-10 minutes.
Conclusion:
These Keto Garlic Cheese Fingers are the perfect solution for anyone following a low-carb or keto diet who misses the taste of traditional garlic breadsticks. They are easy to prepare, packed with flavor, and offer all the cheesy goodness you crave without the carbs. Whether you serve them as a snack, appetizer, or side dish, they are sure to become a favorite in your keto meal rotation. With their rich, garlicky flavor, chewy texture, and crispy exterior, these garlic cheese fingers will keep you on track with your keto goals without compromising on taste or satisfaction. Enjoy them fresh, dip them in your favorite keto-friendly sauce, or store them for later – the possibilities are endless!