
Yield: 1 large loaf
Pan: 9 × 5-inch loaf pan
Prep Time: 20 minutes
Bake Time: 55–70 minutes
Cooling Time: 1 hour
Oven Temperature: 175°C / 350°F
🛒 INGREDIENTS
🍌 For the Banana Bread
Wet Ingredients
- 3 large very ripe bananas — about 300–330 g peeled
- 115 g unsalted butter — ½ cup, melted
- 120 g brown sugar — ½ cup, packed
- 50 g granulated sugar — ¼ cup
- 2 large eggs, preferably room temperature
- 2 teaspoons vanilla extract
- 60 g sour cream or Greek yogurt — ¼ cup
Dry Ingredients
- 250 g all-purpose flour — approximately 2 cups
- 1 teaspoon baking soda
- ½ teaspoon salt
- ½ teaspoon ground cinnamon
Chocolate
- 170 g chocolate chips — about 1 cup
- 50 g chopped chocolate, optional, for larger melted chocolate pockets
🍫 FOR THE TOPPING
- 50 g chocolate chips
- 1 tablespoon coarse/raw sugar
- Pinch of flaky sea salt, optional
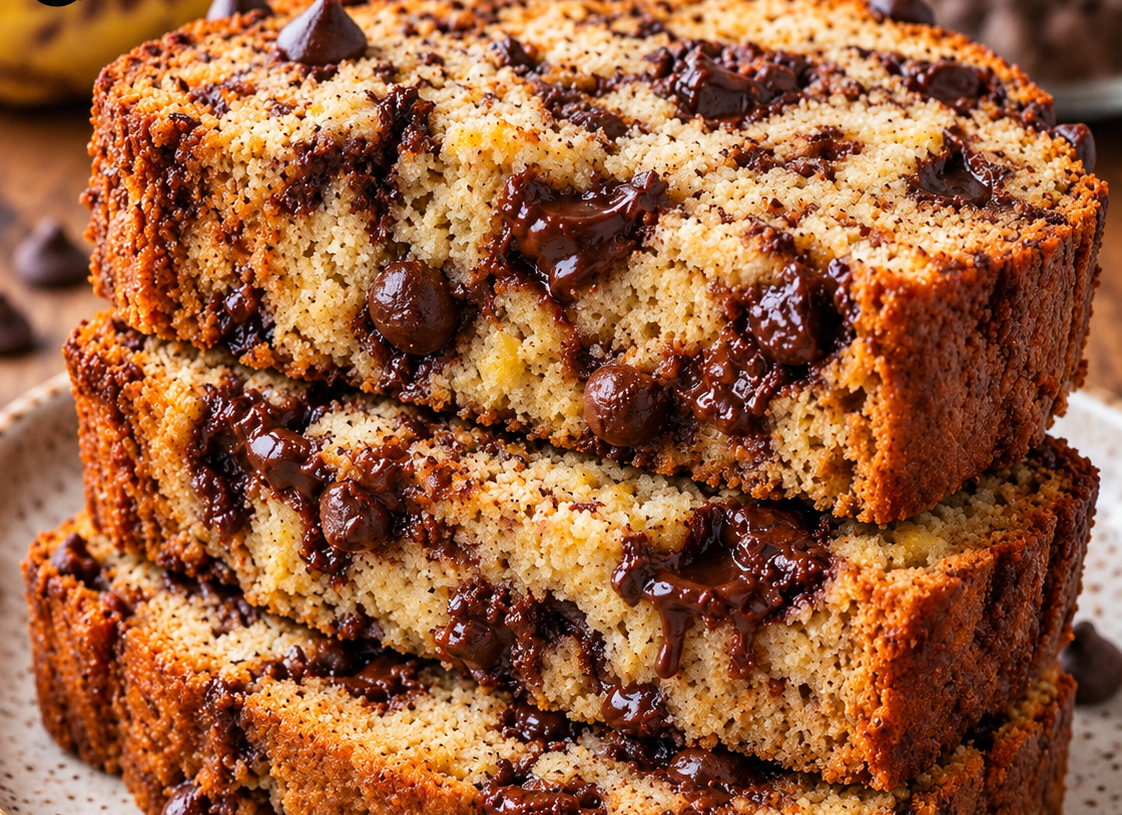
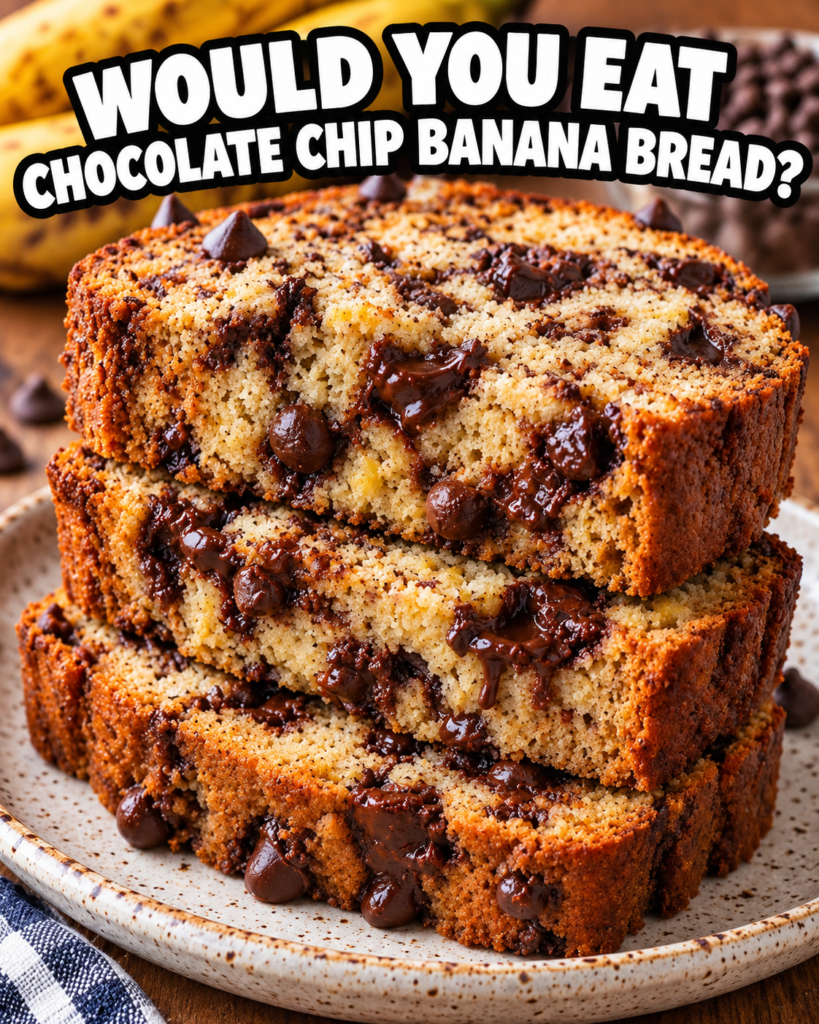
For an especially chocolate-heavy loaf like the photograph, you can use 220–250 g total chocolate.
🥣 EQUIPMENT
You will need:
- 9 × 5-inch loaf pan
- Parchment paper
- 2 mixing bowls
- Whisk
- Rubber spatula
- Fork or potato masher
- Kitchen scale, preferably
- Cooling rack
- Wooden skewer or toothpick
🔥 STEP 1 — PREPARE THE OVEN AND PAN
Preheat your oven to:
175°C / 350°F
Place the oven rack in the center position.
Grease a 9 × 5-inch loaf pan with butter or cooking spray.
Line the pan with parchment paper, leaving some parchment hanging over the two long sides.
These overhanging pieces will act as handles, making it much easier to remove the finished bread.
🍌 STEP 2 — PREPARE THE BANANAS
Choose bananas that are very ripe, preferably with lots of brown or black spots on the peel.
These bananas are ideal because they are:
- Sweeter
- Softer
- More flavorful
- Easier to mash
- Better for creating a moist banana bread
Peel the bananas and place them in a large bowl.
Mash them thoroughly with a fork.
You don’t need the bananas completely smooth. A few small pieces are actually desirable because they create little pockets of banana throughout the bread.
Target amount:
300–330 g mashed banana
If your bananas are significantly larger or smaller, weigh the mashed banana rather than relying only on the number of bananas.
🧈 STEP 3 — MELT THE BUTTER
Melt:
115 g / ½ cup unsalted butter
Allow the butter to cool formixing can develop too much gluten, resulting in a chewy or tough loaf instead of the soft, tender texture the bread bakes, these pieces melt into the crumb avoid inserting it directly through a large melted chocolate pocket because the chocolate can make an otherwise perfectly baked loaf appear under is becoming very dark while the center is still baking, loosely cover the loaf slicing too early can cause the center to appear the appearance in your photo, make the slices fairly HOW TO GET THE MELTED-ey again after cooling, place one slice in MAKING IT several minutes.
You don’t want it extremely hot when adding the eggs because very hot butter can partially cook the eggs.
The butter should be melted but comfortably warm.
🥚 STEP 4 — MIX THE WET INGREDIENTS
To the bowl containing your mashed bananas, add:
- Melted butter
- Brown sugar
- Granulated sugar
Whisk for about 30–60 seconds.
Then add:
- 2 eggs
- Vanilla extract
- Sour cream or Greek yogurt
Whisk until everything is evenly combined.
The mixture should look thick, creamy, and slightly glossy.
Why sour cream?
The sour cream isn’t essential, but it gives the loaf a particularly soft and moist crumb and helps prevent the banana bread from becoming dry.
Greek yogurt works equally well.
🌾 STEP 5 — COMBINE THE DRY INGREDIENTS
In a separate bowl, combine:
- 250 g all-purpose flour
- 1 teaspoon baking soda
- ½ teaspoon salt
- ½ teaspoon cinnamon
Whisk the dry ingredients together for about 20 seconds.
This distributes the baking soda and salt evenly throughout the flour.
🥄 STEP 6 — COMBINE WET AND DRY INGREDIENTS
Gradually add the dry ingredients to the banana mixture.
Using a rubber spatula, gently fold everything together.
IMPORTANT: DON’T OVERMIX
Stop mixing as soon as you can no longer see large streaks of dry flour.
A few small lumps are perfectly fine.
Overmixing can develop too much gluten, resulting in a chewy or tough loaf instead of the soft, tender texture seen in your picture.
🍫 STEP 7 — ADD THE CHOCOLATE
Add:
170 g chocolate chips
and, if using:
50 g chopped chocolate
Fold them gently into the batter.
For the best texture, use a combination of chocolate chips and roughly chopped chocolate.
Why use chopped chocolate?
Chocolate chips hold their shape relatively well.
Chopped chocolate melts into irregular pockets, giving you the gooey chocolate streaks and pools visible throughout the loaf in your photo.
🍞 STEP 8 — TRANSFER TO THE LOAF PAN
Pour the batter into your prepared loaf pan.
Use a spatula to gently spread it evenly.
The batter should fill the pan roughly ⅔ to ¾ full.
Don’t pack or press the batter down.
🍫 STEP 9 — ADD THE CHOCOLATE TOPPING
Scatter the reserved chocolate chips over the surface.
For an appearance closer to your photograph, use a mixture of:
- Chocolate chips
- Larger chocolate chunks
Then sprinkle approximately:
1 tablespoon coarse sugar
over the top.
You can also add a very small pinch of flaky sea salt.
The sugar helps create a lightly crisp, caramelized surface while the salt balances the sweetness.
🔪 OPTIONAL — CREATE EXTRA GOOEY CHOCOLATE POCKETS
For an extra chocolatey center, take 5–8 larger pieces of chocolate and gently push them into the top of the batter.
Push them down approximately 1–2 cm.
As the bread bakes, these pieces melt into the crumb.
This produces the large melted chocolate pockets that make the bread look especially indulgent.
🔥 STEP 10 — BAKE
Place the loaf pan in the center of the preheated oven.
Bake at:
175°C / 350°F for approximately 55–70 minutes
The exact time depends on:
- Size of your bananas
- Moisture in the batter
- Your loaf pan
- Your oven
- How much chocolate you use
Start checking at 50–55 minutes.
🧪 STEP 11 — CHECK FOR DONENESS
Insert a wooden skewer into the center of the loaf.
Try to avoid inserting it directly through a large melted chocolate pocket because the chocolate can make an otherwise perfectly baked loaf appear undercooked.
The skewer should have:
✅ A few moist crumbs
✅ Some banana crumbs
It should NOT have:
❌ Wet liquid batter
❌ Raw-looking dough
If the top is becoming very dark while the center is still baking, loosely cover the loaf with aluminum foil.
Continue baking until the center is cooked.
❄️ STEP 12 — COOL THE BREAD
Remove the loaf from the oven.
Let it sit in the pan for approximately:
10–15 minutes
Then carefully lift it out using the parchment-paper handles.
Place it on a cooling rack.
Allow it to cool for at least:
45–60 minutes
before slicing.
This waiting period is important.
The interior continues to set as it cools, and slicing too early can cause the center to appear excessively wet or gummy.
🔪 STEP 13 — SLICE
Use a sharp serrated knife.
Cut the loaf into thick slices, approximately:
2–3 cm thick
For the appearance in your photo, make the slices fairly thick.
You’ll get beautiful layers of:
🍌 banana crumb
🍫 melted chocolate
🍞 golden crust
♨️ HOW TO GET THE MELTED-CHOCOLATE EFFECT
If you want the chocolate to become gooey again after cooling, place one slice in the microwave for approximately:
10–15 seconds
Don’t overheat it.
The chocolate should soften and become glossy without making the bread hot or dry.
⭐ SECRETS TO MAKING IT LIKE THE PHOTO
1. Use VERY ripe bananas
Don’t use firm yellow bananas if you can avoid it.
The ideal bananas have heavily spotted or mostly brown peels.
2. Don’t reduce the chocolate
For a normal banana bread, 1 cup of chocolate chips is plenty.
For the loaf pictured, I’d use:
220–250 g chocolate total
This gives you the dramatic chocolate-filled appearance.
3. Use some chopped chocolate
Don’t rely exclusively on chocolate chips.
Roughly chopped chocolate creates much larger melted pockets.
4. Don’t overmix
Once the flour disappears, stop mixing.
This is one of the most important steps for achieving a soft bakery-style crumb.
5. Don’t overbake
Banana bread should remain moist.
You’re looking for moist crumbs, not a completely clean skewer.
🍫 EXTRA-GOOEY VERSION
If you want an even more indulgent loaf, use:
- 3 bananas
- 115 g butter
- 120 g brown sugar
- 50 g white sugar
- 2 eggs
- 60 g sour cream
- 250 g flour
- 1 tsp baking soda
- ½ tsp salt
- ½ tsp cinnamon
- 250 g chocolate
Reserve approximately 60 g of the chocolate for the top and use the remaining chocolate inside the batter.
This will produce a loaf much closer to the extremely chocolate-loaded appearance of your reference photo.
🧊 STORAGE
Room Temperature
Store tightly wrapped or in an airtight container.
Best within 2–3 days.
Refrigerator
Keep refrigerated in an airtight container for approximately 4–5 days.
Bring slices toward room temperature or microwave briefly before serving.
Freezer
Wrap individual slices tightly in plastic wrap, then place them in a freezer bag.
Freeze for up to approximately 3 months.
Thaw at room temperature and warm briefly before serving.
🍌🍫 FINAL RECIPE AT A GLANCE
Mash: 3 ripe bananas
↓
Whisk: butter + sugars + bananas
↓
Add: eggs + vanilla + sour cream
↓
Combine: flour + baking soda + salt + cinnamon
↓
Fold: dry ingredients into wet ingredients
↓
Add: chocolate chips + chopped chocolate
↓
Pour: into parchment-lined loaf pan
↓
Top: chocolate + coarse sugar
↓
Bake: 175°C / 350°F for 55–70 minutes
↓
Cool: 10–15 minutes in pan, then 45–60 minutes on rack
↓
Slice & serve warm 🍌🍫
For the closest match to the photo, my recommendation is 3 very ripe bananas + 115 g butter + 220–250 g mixed chocolate chips/chunks + the sour cream. That combination gives you the rich, moist crumb and generous melted-chocolate pockets you’re looking for.