Introduction
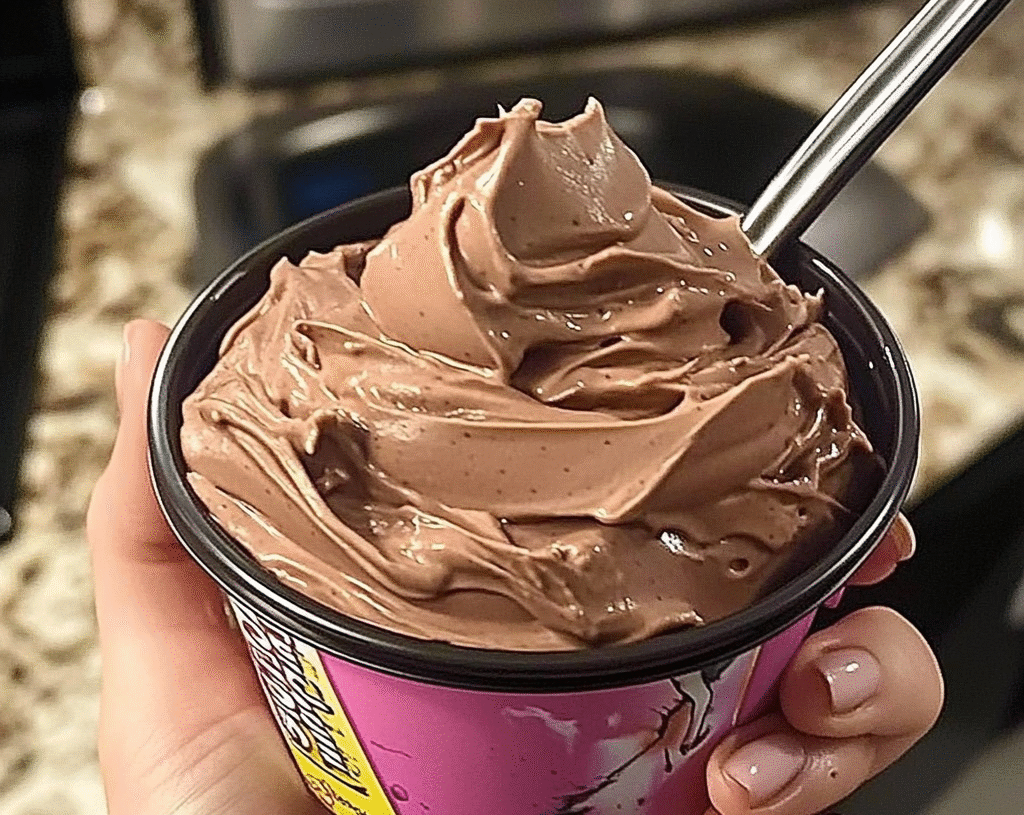
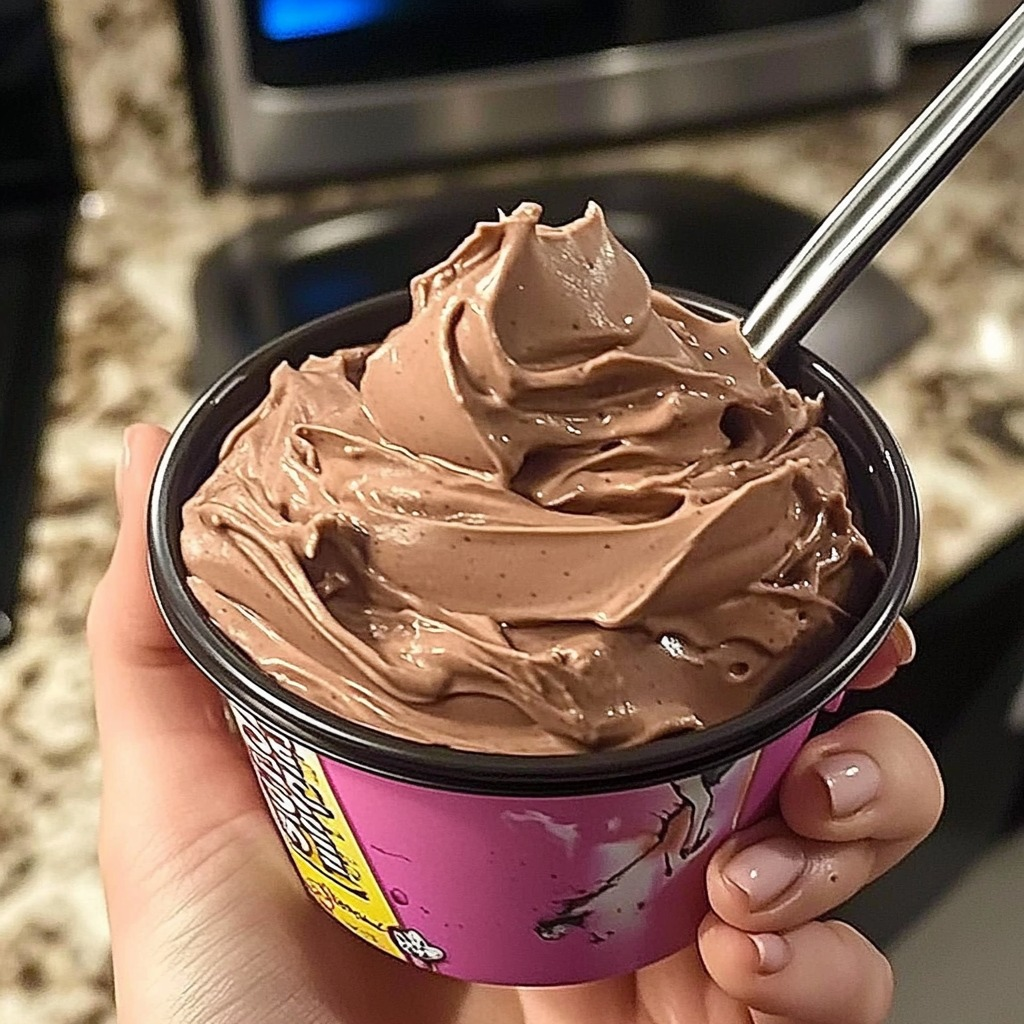
Indulging in a rich, creamy dessert while following a ketogenic diet can often feel like an impossible task. However, this Keto Chocolate Peanut Butter Mousse Whipped Dessert offers a delightful solution. Combining the rich flavors of chocolate and peanut butter, this low-carb dessert is not only decadent but also simple to prepare. Perfect for satisfying sweet cravings, it can be enjoyed on special occasions or as a comforting treat any day of the week.
This detailed guide will walk you through every step of creating this delicious mousse, complete with measurements, cooking instructions, nutritional information, and helpful tips to ensure your dessert turns out perfectly every time.
Ingredients
For the Mousse:
- 1 cup heavy whipping cream
- 1/2 cup creamy or crunchy natural peanut butter (sugar-free)
- 1/2 cup unsweetened cocoa powder
- 1/4 cup powdered erythritol (or your preferred keto-friendly sweetener)
- 1 teaspoon vanilla extract
- A pinch of salt
For Garnish:
- Sugar-free chocolate shavings or chips (optional)
- Chopped peanuts (optional)
- Whipped cream (optional)
Nutritional Information (Per Serving, serves about 4)
- Calories: 310
- Total Fat: 27g
- Saturated Fat: 12g
- Cholesterol: 70mg
- Sodium: 130mg
- Total Carbohydrates: 8g
- Dietary Fiber: 3g
- Net Carbs: 5g
- Protein: 9g
SmartPoints (WW)
- SmartPoints: 7 (based on the current WW system)
Detailed Instructions
Step 1: Gather Your Ingredients
Start by gathering all your ingredients. This ensures that you have everything at hand and makes the preparation process more efficient. Measure out the heavy whipping cream, peanut butter, unsweetened cocoa powder, powdered erythritol, vanilla extract, and salt. Using high-quality ingredients will enhance the overall flavor and texture of your mousse.
Step 2: Prepare the Mixing Bowl
Choose a large mixing bowl for whipping the cream. It’s best if the bowl is chilled; you can place it in the freezer for about 10 minutes before starting. A cold bowl helps the cream whip faster and achieve a better consistency.
Step 3: Whip the Cream
Pour 1 cup of heavy whipping cream into the chilled mixing bowl. Using an electric mixer or a whisk, begin whipping the cream on medium speed. Continue whipping until soft peaks form. This process usually takes about 3-5 minutes. Be careful not to over-whip, as this can lead to butter separation.
Step 4: Combine Peanut Butter and Cocoa Powder
In a separate medium bowl, combine 1/2 cup of creamy or crunchy natural peanut butter and 1/2 cup of unsweetened cocoa powder. Use a spatula or spoon to mix them together until well combined. This step ensures that the cocoa powder is evenly distributed throughout the peanut butter, creating a uniform flavor.
Step 5: Add Sweetener and Flavorings
To the peanut butter and cocoa mixture, add 1/4 cup of powdered erythritol, 1 teaspoon of vanilla extract, and a pinch of salt. Mix thoroughly until the ingredients are fully combined and the mixture is smooth. The sweetener can be adjusted according to your taste preferences, so feel free to add more or less.
Step 6: Fold in the Whipped Cream
Once the whipped cream has reached soft peaks, gently fold it into the peanut butter and cocoa mixture. Use a spatula to carefully incorporate the whipped cream, being mindful not to deflate it. This step is crucial for maintaining the light and airy texture of the mousse.
Step 7: Taste and Adjust
Before transferring the mousse to serving dishes, taste the mixture to see if it meets your sweetness and flavor preferences. Adjust the sweetness with additional erythritol or a pinch more salt if needed. This personalized touch can make a significant difference in the final outcome.
Step 8: Transfer to Serving Dishes
Once you’re satisfied with the flavor, transfer the mousse into individual serving dishes or ramekins. You can also use a piping bag for a more elegant presentation if desired. Fill each dish evenly, leaving a little space at the top for garnishing.
Step 9: Chill the Mousse
Cover the serving dishes with plastic wrap and place them in the refrigerator. Chill the mousse for at least 1-2 hours. This chilling time allows the flavors to meld together and the mousse to set properly, resulting in a rich and creamy texture.
Step 10: Prepare the Garnish
While the mousse is chilling, prepare any garnishes you’d like to use. You can shave some sugar-free chocolate, chop peanuts, or whip additional cream. These garnishes not only enhance the visual appeal of your dessert but also add complementary flavors and textures.
Step 11: Serve and Enjoy
Once the mousse has chilled and set, remove it from the refrigerator. If using, add your desired garnishes, such as sugar-free chocolate shavings, chopped peanuts, or whipped cream on top. Serve immediately and enjoy your decadent Keto Chocolate Peanut Butter Mousse!
Tips for Success
- Quality Ingredients: The quality of your peanut butter and cocoa powder will greatly affect the flavor of your mousse. Opt for natural, unsweetened varieties without added sugars.
- Sweetener Options: While erythritol works well, you can also use other keto-friendly sweeteners like monk fruit or stevia, adjusting to your taste.
- Storage: Leftovers can be stored in the refrigerator in an airtight container for up to 3 days. However, the mousse is best enjoyed fresh.
Variations
- Flavor Infusions: Experiment by adding a tablespoon of espresso powder for a mocha flavor, or a dash of cinnamon for a warm spice note.
- Nutty Alternatives: Try using almond butter or cashew butter in place of peanut butter for a different nutty flavor profile.
Final Thoughts
This Keto Chocolate Peanut Butter Mousse Whipped Dessert is not just a treat; it’s a culinary delight that fits perfectly into your low-carb lifestyle. It’s rich, creamy, and utterly satisfying, making it a go-to recipe for any chocolate lover on a ketogenic diet.
Conclusion
Indulge guilt-free in this Keto Chocolate Peanut Butter Mousse, a dessert that beautifully combines the rich flavors of chocolate and peanut butter while adhering to your dietary goals. With its simple preparation and impressive results, this mousse is bound to become a favorite in your keto dessert repertoire. Enjoy every bite of this luscious treat!