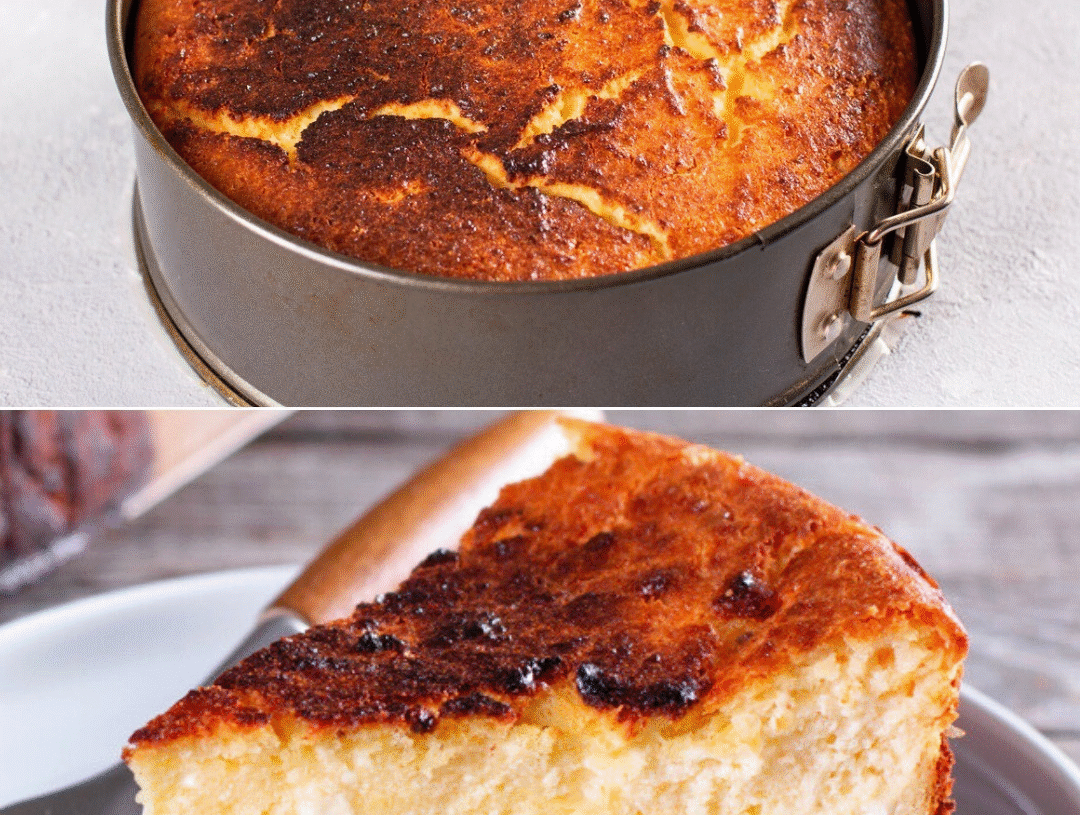
Keto Burnt Basque Cheesecake
Introduction
The Keto Burnt Basque Cheesecake is an exquisite dessert that combines the rich, creamy texture of traditional cheesecake with the caramelized exterior that defines the Basque style. This low-carb variation is perfect for those adhering to a ketogenic lifestyle or anyone looking to indulge without the guilt. With a few adjustments, we’ll transform this classic into a keto-friendly treat that satisfies your sweet tooth while keeping carbohydrate intake low.
Ingredients
For the Cheesecake
- 16 oz (450 g) cream cheese (full-fat, softened)
- 1/2 cup (100 g) granulated erythritol (or your preferred keto sweetener)
- 1/4 cup (60 ml) heavy cream
- 3 large eggs
- 1 teaspoon vanilla extract
- 1/4 teaspoon salt
- 1 tablespoon lemon juice (optional, for added flavor)
- 1 tablespoon almond flour (for dusting)
For Serving (Optional)
- Fresh berries (raspberries or blackberries)
- Whipped cream (sugar-free)

Nutritional Information (Per Serving)
- Serving Size: 1 slice (1/12 of the cheesecake)
- Calories: 285
- Total Fat: 25 g
- Saturated Fat: 15 g
- Total Carbohydrates: 6 g
- Dietary Fiber: 2 g
- Net Carbohydrates: 4 g
- Sugars: 1 g
- Protein: 6 g
- SmartPoints: 6 (WW)
Equipment Needed
- 9-inch springform pan
- Electric mixer (hand or stand)
- Rubber spatula
- Measuring cups and spoons
- Parchment paper
- Oven
Instructions
Step 1: Prepare the Springform Pan
To begin, preheat your oven to 400°F (200°C). Line the sides and bottom of a 9-inch springform pan with parchment paper. Ensure the paper hangs over the edges for easy removal after baking. This will help achieve that signature burnt look and make for easier cleanup.
Step 2: Mix the Cream Cheese
In a large mixing bowl, add 16 oz (450 g) of softened cream cheese. Using an electric mixer on medium speed, blend the cream cheese until smooth and creamy. This step is crucial to eliminate lumps for a velvety cheesecake.
Step 3: Add the Sweetener
Gradually add 1/2 cup (100 g) of granulated erythritol to the cream cheese. Continue mixing until fully incorporated. The mixture should be light and fluffy, giving your cheesecake a lovely texture.
Step 4: Incorporate the Eggs
Add 3 large eggs, one at a time, mixing well after each addition. This method allows for even distribution and helps to achieve a creamy consistency. Ensure that the eggs are at room temperature for optimal blending.
Step 5: Add Heavy Cream and Flavorings
Pour in 1/4 cup (60 ml) of heavy cream, 1 teaspoon vanilla extract, and 1/4 teaspoon salt. If desired, add 1 tablespoon of lemon juice for a refreshing zest. Mix until all ingredients are thoroughly combined, scraping down the sides of the bowl as necessary.
Step 6: Final Mixture
Your cheesecake batter should be smooth and slightly thick. Taste the mixture and adjust sweetness if necessary, adding more erythritol as desired.
Step 7: Bake the Cheesecake
Pour the cheesecake mixture into the prepared springform pan. Smooth the top with a rubber spatula, then place it in the preheated oven. Bake for 30-35 minutes or until the top is deeply golden brown and the center is slightly jiggly. The burnt exterior is what defines this cheesecake, so don’t shy away from that caramelized look!
Step 8: Cool the Cheesecake
Once baked, turn off the oven and leave the cheesecake inside for an additional 30 minutes. This will help prevent cracking. Afterward, remove it from the oven and let it cool to room temperature. Once cool, transfer it to the refrigerator and chill for at least 4 hours, preferably overnight, to enhance the flavors and texture.
Step 9: Serving the Cheesecake
Once the cheesecake is fully chilled, carefully remove it from the springform pan. Gently peel away the parchment paper. For an elegant presentation, slice the cheesecake into 12 equal portions. You may choose to serve each slice with a few fresh berries and a dollop of sugar-free whipped cream for added flair.
Step 10: Storing Leftovers
Store any leftover cheesecake in an airtight container in the refrigerator for up to 5 days. This cheesecake can also be frozen for up to 2 months. To freeze, wrap individual slices in plastic wrap and place them in a freezer-safe container.
Tips for Success
- Quality Ingredients: Use high-quality cream cheese and sweetener to ensure the best flavor and texture.
- Room Temperature Ingredients: Allow your cream cheese and eggs to come to room temperature for easier mixing and a smoother batter.
- Monitor Baking Time: Ovens can vary in temperature, so keep an eye on your cheesecake. The perfect color is a rich, dark golden brown.
- Experiment with Flavors: Feel free to add different flavorings, such as almond extract or cocoa powder, to create variations of this cheesecake.
Conclusion
The Keto Burnt Basque Cheesecake is a delightful treat that offers all the creaminess and decadence of traditional cheesecake while adhering to your low-carb lifestyle. With its unique presentation and rich flavor, this dessert is sure to impress friends and family alike. Enjoy every bite without the guilt, knowing you’ve made a smart choice for your health.

