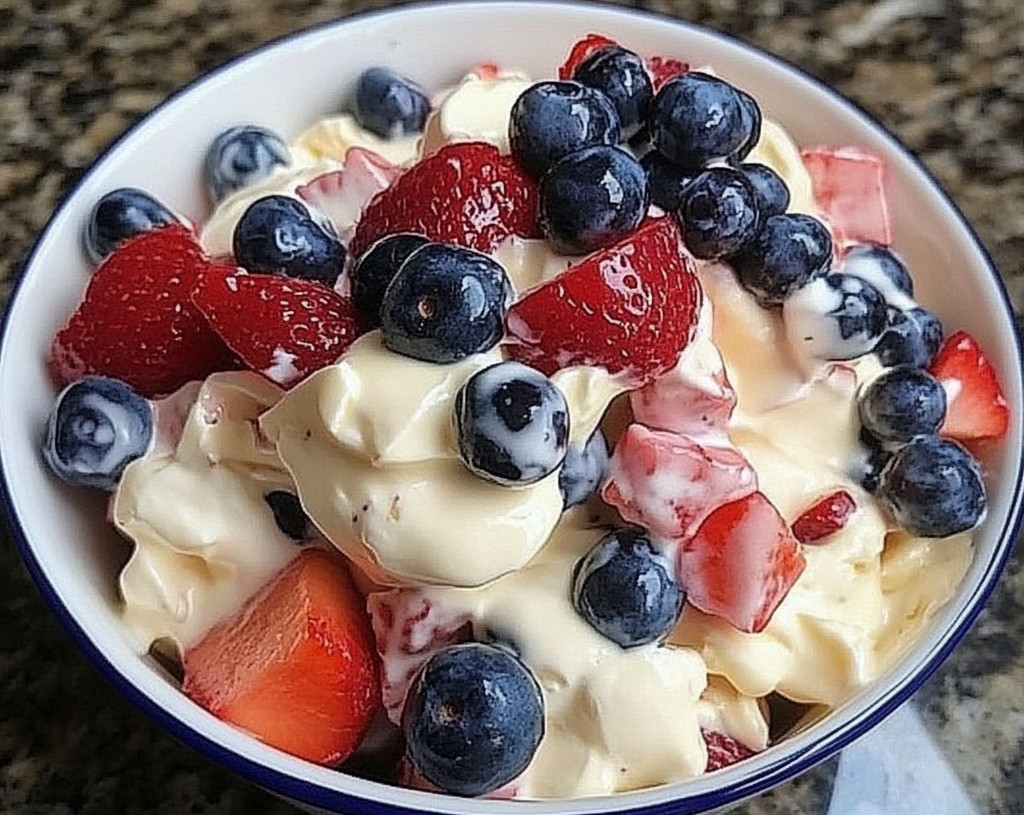
Keto Cheesecake Salad Recipe
This Keto Cheesecake Salad is a delightful, low-carb dessert that combines the creamy flavors of cheesecake with fresh fruit and crunchy nuts. It’s perfect for satisfying your sweet tooth while adhering to a ketogenic lifestyle. This versatile recipe can be served as a dessert or a refreshing side dish for gatherings and celebrations. Let’s dive into the details, including ingredients, instructions, and nutritional information.
Ingredients
To prepare this delicious Keto Cheesecake Salad, you will need the following ingredients:
For the Cheesecake Base:
- 8 oz cream cheese, softened (full-fat for the best flavor)
- 1/2 cup sour cream (or Greek yogurt for a lighter option)
- 1/2 cup powdered erythritol (or your preferred low-carb sweetener)
- 1 teaspoon vanilla extract
- 1/2 teaspoon lemon juice (optional, for brightness)
For the Salad:
- 1 cup fresh strawberries, hulled and sliced
- 1 cup fresh blueberries
- 1 cup fresh raspberries
- 1/2 cup chopped pecans or walnuts (optional, for added crunch)
- 1/4 cup unsweetened shredded coconut (optional, for texture)
For Garnish (optional):
- Whipped cream (made from heavy cream, sweetened with erythritol)
- Fresh mint leaves (for decoration)
Nutritional Information (per serving, makes about 8 servings)
- Calories: ~180
- Protein: 4g
- Fat: 15g
- Carbohydrates: 5g
- Fiber: 2g
- Net Carbs: 3g
- WW Points: Approximately 5 points (may vary based on individual tracking)
Instructions
Step 1: Prepare the Cream Cheese Mixture
Begin by placing the softened cream cheese in a large mixing bowl. Using a hand mixer or a stand mixer, beat the cream cheese until it’s smooth and creamy. This will form the base of your cheesecake salad.
Step 2: Incorporate the Sour Cream
Next, add the sour cream to the cream cheese mixture. Beat until well combined. The sour cream adds a tangy flavor that mimics traditional cheesecake and enhances the overall creaminess.
Step 3: Sweeten the Mixture
Gradually add the powdered erythritol to the mixture. Continue to beat until the sweetener is fully incorporated and the mixture is smooth. Adjust the sweetness to your preference by adding more or less erythritol.
Step 4: Add Flavorings
Incorporate the vanilla extract and lemon juice (if using) into the mixture. The vanilla provides classic cheesecake flavor, while the lemon juice adds a refreshing brightness that balances the sweetness.
Step 5: Prepare the Berries
While the cheesecake base is being prepared, wash and slice the strawberries. If using frozen berries, make sure they are thawed and drained well to prevent excess moisture in the salad.
Step 6: Combine Berries and Nuts
In a separate large bowl, gently fold together the sliced strawberries, blueberries, and raspberries. If you’re adding chopped pecans or walnuts for a crunchy texture, mix them in at this stage. The combination of berries will not only provide flavor but also a vibrant color to the dish.
Step 7: Mix the Cheesecake Base with the Berries
Spoon the cheesecake mixture over the berry and nut combination. Using a spatula, gently fold the ingredients together. Be careful not to crush the berries; you want to maintain their shape and freshness.
Step 8: Chill the Salad
Once everything is well combined, transfer the salad to a serving dish or individual cups. Cover with plastic wrap and refrigerate for at least 1-2 hours. Chilling allows the flavors to meld and makes the salad more refreshing.
Step 9: Prepare Whipped Cream (Optional)
If you’d like to add a dollop of whipped cream for serving, use a mixer to beat 1 cup of heavy cream with a sweetener of your choice until soft peaks form. This addition will enhance the creaminess and make the dish feel even more indulgent.
Step 10: Serve and Garnish
When ready to serve, remove the salad from the refrigerator. If desired, top with a dollop of whipped cream and garnish with fresh mint leaves for an elegant presentation.
Step 11: Enjoy Your Salad
Scoop the salad into bowls or serve directly from the dish. This Keto Cheesecake Salad is best enjoyed chilled and makes a delightful dessert for any occasion.
Storage Tips
This salad can be stored in an airtight container in the refrigerator for up to 3 days. If you’re preparing it in advance for a gathering, consider waiting to add the nuts and shredded coconut until just before serving to maintain their crunch.
Useful Information
Nutritional Benefits
- Low in Carbs: This recipe is perfect for those following a ketogenic diet, as it contains minimal carbohydrates while still being rich in healthy fats.
- Rich in Antioxidants: The berries provide antioxidants, vitamins, and minerals, contributing to your overall health.
- Versatile Dessert: This cheesecake salad can be customized with different fruits, nuts, or sweeteners according to your taste preferences.
Variations
- Different Berries: You can substitute or add other berries like blackberries or even diced peaches (in moderation) to vary the flavor.
- Flavor Variations: Consider adding a tablespoon of cocoa powder to create a chocolate version of this cheesecake salad or experimenting with other flavor extracts like almond or coconut.
Serving Suggestions
This Keto Cheesecake Salad is perfect for:
- Summer Barbecues: Serve it as a light dessert option.
- Holidays and Gatherings: Its vibrant colors make it a festive addition to any holiday table.
- Meal Prep: Make a batch at the beginning of the week for quick and easy desserts throughout the week.
Conclusion
This Keto Cheesecake Salad is not only a delicious treat but also a fantastic way to satisfy your dessert cravings while keeping your carbohydrate intake low. It’s easy to prepare, visually appealing, and bursting with flavor. Whether you’re hosting a gathering or simply looking for a sweet, low-carb indulgence, this recipe is sure to impress. Enjoy this delightful salad, and feel free to experiment with your favorite ingredients to make it your own!

