
Ingredients You Will Need
Dry Ingredients
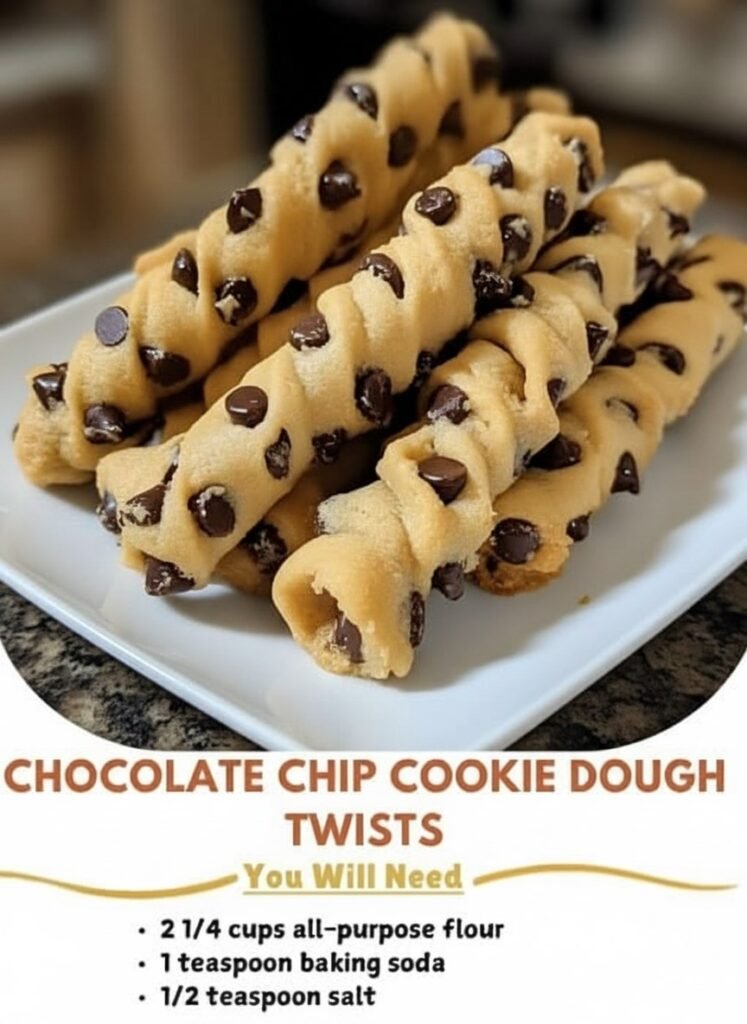
- 2 ¼ cups all-purpose flour
- 1 teaspoon baking soda
- ½ teaspoon salt
Wet Ingredients
- ¾ cup unsalted butter (softened)
- ¾ cup brown sugar (packed)
- ½ cup granulated sugar
- 1 large egg
- 2 teaspoons pure vanilla extract
Add-ins
- 1 ½ cups semi-sweet chocolate chips
(Optional: add ½ cup mini chocolate chips or chunks for extra texture.)
Step 1: Preparing the Dry Mix
In a medium-sized mixing bowl, whisk together the flour, baking soda, and salt. This step ensures that the leavening agent is evenly distributed, preventing uneven baking. Sifting the flour is optional but helps achieve a finer dough texture. Set aside while you prepare the wet ingredients.
Step 2: Creaming the Butter and Sugars
In a large bowl, use an electric mixer to cream together softened butter, brown sugar, and granulated sugar until light and fluffy — about 3 to 4 minutes. This process aerates the mixture, helping create a soft, tender cookie texture later on.
Step 3: Adding the Wet Ingredients
Beat in the egg and vanilla extract until fully incorporated. The vanilla adds warmth and depth, while the egg helps bind the dough and give it structure. Continue mixing on low speed until smooth.
Step 4: Combining Wet and Dry Ingredients
Gradually add the dry mixture to the wet mixture, one-third at a time. Mix on low speed or with a spatula until a soft dough forms. Avoid overmixing — you want a dough that holds together but remains pliable.
Step 5: Folding in the Chocolate Chips
Gently fold in the chocolate chips using a spatula. Make sure they’re evenly distributed throughout the dough. You can use a combination of regular and mini chips for extra variety and flavor pockets.
Step 6: Shaping the Twists
This is where the magic happens!
- Lightly flour your work surface.
- Divide the dough into small portions (about 2 tablespoons each).
- Roll each portion into a rope about 6–7 inches long.
- Twist each rope gently — one end clockwise, the other counterclockwise — until it forms a neat spiral.
- Place each twist on a parchment-lined baking sheet, leaving 2 inches between them.
For a richer look, press a few extra chocolate chips into the surface of each twist before baking.
Step 7: Chilling the Dough
Refrigerate the shaped dough twists for about 20–30 minutes before baking. This step prevents excessive spreading in the oven and helps maintain their beautiful twisted shape.
Step 8: Baking the Twists
Preheat your oven to 350°F (175°C).
Bake the twists for 9–11 minutes, or until the edges turn golden but the centers remain soft. The goal is a chewy, tender cookie texture rather than a crunchy one.
Let them cool on the baking sheet for 5 minutes, then transfer to a wire rack to cool completely.
Step 9: Presentation and Serving Ideas
Arrange the baked twists on a white serving plate or rustic wooden board. Dust lightly with powdered sugar or drizzle with melted chocolate for an elegant touch.
Serve them warm with a glass of cold milk, coffee, or hot cocoa. For festive occasions, you can tie them in bundles with ribbons and gift them in treat boxes — they make wonderful homemade presents.
Storage Tips
- Room temperature: Store in an airtight container for up to 5 days.
- Refrigeration: Keeps fresh for about a week.
- Freezing: You can freeze unbaked dough twists for up to 3 months; bake directly from frozen, adding 1–2 extra minutes to baking time.
Pro Tips for Perfect Twists
- Use softened butter, not melted. Melted butter can cause flat, greasy cookies.
- Chill the dough. This maintains shape and texture.
- Don’t overbake. The twists continue to cook slightly after being removed from the oven.
- Adjust chocolate ratios. For sweeter cookies, use milk chocolate; for richness, use dark chocolate.
- Uniform size matters. Evenly sized twists bake evenly, ensuring perfect texture throughout.
Creative Variations
- Peanut Butter Twist: Replace ¼ cup butter with peanut butter for a nutty spin.
- Double Chocolate: Add 2 tablespoons cocoa powder to the dry mix.
- Salted Caramel Drizzle: Drizzle caramel sauce and sprinkle with sea salt post-baking.
- Holiday Edition: Add crushed candy canes or red-green sprinkles for a festive vibe.
Nutritional Overview (Per Twist)
- Calories: ~190 kcal
- Fat: 9 g
- Carbohydrates: 25 g
- Sugar: 15 g
- Protein: 2 g
Note: Values may vary depending on the size of the twists and specific ingredient brands used.
Common Questions (FAQ)
Q: Can I make this dough ahead of time?
Yes! The dough can be refrigerated for up to 48 hours. Bring it to room temperature for 10 minutes before shaping.
Q: Can I use white chocolate or butterscotch chips?
Absolutely — they make delightful variations and add a unique flavor contrast.
Q: Can I make them gluten-free?
Yes, substitute the all-purpose flour with a high-quality gluten-free blend designed for baking.
Pairing and Presentation Suggestions
Pair these cookie dough twists with a creamy mocha, vanilla latte, or milkshake for a café-style experience. You can also serve them alongside ice cream or crumble them into dessert parfaits for added crunch and sweetness.
For website presentation, photograph them under natural light on a neutral background to highlight their texture. Stack a few twists on top of each other or serve them in a mason jar for a rustic look.
Final Thoughts
Chocolate Chip Cookie Dough Twists are a charming upgrade to classic cookies — elegant, fun, and irresistibly delicious. Their combination of buttery dough, gooey chocolate, and playful shape makes them an instant hit for all ages. Whether you bake them for a family gathering, holiday treat, or cozy snack, these twists bring smiles and sweet comfort every time.
This recipe is proof that simple ingredients can create extraordinary desserts — all it takes is a little creativity and a twist of dough!