
Makes: 12–16 egg rolls
Prep time: 35–45 minutes
Cook time: 20–25 minutes
Total: About 1 hour
Serves: 4–6 Ingredients
For the filling
- 1 lb (450 g) ground beef — 80/20 works especially well
- 2 cups finely shredded cabbage
- 1 large carrot, julienned or grated
- 3 oz (85 g) dry glass noodles/cellophane noodles
- 1 small onion, finely diced
- 3 cloves garlic, minced
- 1 tsp fresh ginger, grated
- 2 green onions, finely sliced
- 2 tbsp soy sauce
- 1 tbsp oyster sauce
- 1 tsp toasted sesame oil
- ½ tsp black pepper
- ½ tsp salt, or to taste
- ½ tsp sugar
- 1 tbsp cornstarch
- 1 tbsp neutral cooking oil
For wrapping
- 12–16 egg roll wrappers
- 1 tbsp cornstarch
- 2 tbsp water
Mix the cornstarch and water together to make a simple sealing paste.
For frying
- 6–8 cups neutral oil, such as vegetable, canola, peanut, or sunflower oil
You want enough oil for the egg rolls to be mostly or completely submerged.
🥕 Step 1: Prepare the Glass Noodles
Place the dry glass noodles in a bowl and cover them with hot water.
Let them soak for approximately 5–8 minutes, or according to the package directions, until they’re softened but not mushy.
Drain extremely well.
Using kitchen scissors, cut the noodles into pieces approximately 2–3 inches long.
Important:
Don’t leave the noodles dripping wet. Excess water will make your filling watery and can cause the wrappers to become soggy.
🥩 Step 2: Cook the Beef
Heat 1 tablespoon of oil in a large skillet or wok over medium-high heat.
Add:
- 1 lb ground beef
- diced onion
Cook for approximately 5–7 minutes, breaking the beef apart with a spatula.
Continue cooking until the beef is browned and no longer pink.
If there’s a large amount of grease in the pan, carefully drain most of it.
You want the beef mixture flavorful and moist, but not greasy or watery.
🧄 Step 3: Add the Aromatics
Add:
- minced garlic
- grated ginger
Cook for approximately 30–60 seconds, stirring constantly.
Be careful not to burn the garlic.
The mixture should become very fragrant.
🥬 Step 4: Add the Vegetables
Add the:
- shredded cabbage
- carrots
Stir-fry everything together for approximately 3–4 minutes.
You want the vegetables to soften slightly while still retaining some texture.
Don’t completely cook them until mushy because they’ll continue cooking inside the egg rolls.
🍜 Step 5: Add the Noodles
Add the prepared glass noodles.
Toss everything together thoroughly.
Then add:
- 2 tbsp soy sauce
- 1 tbsp oyster sauce
- 1 tsp sesame oil
- ½ tsp black pepper
- ½ tsp sugar
Taste the filling.
Add a little additional soy sauce or salt if necessary.
The filling should taste slightly more seasoned than you would normally eat by itself, because the wrapper will dilute the overall flavor.
🌽 Step 6: Add the Cornstarch
Sprinkle 1 tablespoon cornstarch over the filling.
Mix very well.
The cornstarch helps absorb excess moisture and gives the filling a slightly cohesive texture.
Cook for another 1–2 minutes.
Finally, stir in the sliced green onions.
Turn off the heat.
❄️ Step 7: COOL THE FILLING — VERY IMPORTANT
Transfer the filling to a large shallow plate or baking sheet.
Spread it out into a thin layer.
Allow it to cool until it is completely cool or barely warm.
Don’t skip this step.
Hot filling releases steam inside the wrapper. That steam can:
- make the wrapper soggy
- cause the egg roll to burst
- release filling into the frying oil
- prevent the exterior from becoming properly crispy
For the crispiest egg rolls, you can refrigerate the filling for 20–30 minutes before wrapping.
🥟 Step 8: Wrap the Egg Rolls
Place one egg roll wrapper on a clean work surface with one corner pointing toward you, creating a diamond shape.
Put approximately 2–3 tablespoons of filling slightly below the center.
Don’t overfill.
Fold the bottom corner upward
Pull the bottom corner over the filling and tuck it underneath slightly.
Fold in the sides
Fold the left and right corners toward the center.
You should now have something resembling an envelope.
Roll tightly
Roll the egg roll upward toward the remaining corner.
Keep the roll fairly tight, but don’t squeeze so hard that you tear the wrapper.
Brush the final corner with your cornstarch-water sealing paste.
Finish rolling and gently press the seam closed.
Repeat with the remaining wrappers and filling.
🔥 Step 9: Heat the Oil
Pour your frying oil into a heavy-bottomed pot, Dutch oven, or deep fryer.
Heat to approximately:
350°F (175°C)
A kitchen thermometer is highly recommended.
No thermometer?
Dip the end of a wooden chopstick into the oil.
If small bubbles steadily form around the chopstick, the oil is generally hot enough.
If it is violently bubbling, the oil may be too hot.
🍳 Step 10: Fry the Egg Rolls
Carefully lower 3–4 egg rolls into the hot oil.
Don’t overcrowd the pot.
Overcrowding causes the oil temperature to drop, resulting in greasy egg rolls instead of crispy ones.
Fry for approximately 4–6 minutes, turning occasionally, until they’re:
- deep golden brown
- crisp
- blistered
- evenly cooked
Remove with tongs or a slotted spoon.
Place them on a wire rack over a baking sheet.
This is better than placing them directly on paper towels because the rack allows air to circulate underneath, keeping the bottoms crisp.
🔥 Extra-Crispy Restaurant-Style Trick
For exceptionally crispy egg rolls, try double frying.
First fry
Fry at approximately 325°F (165°C) for about 3–4 minutes.
They should be cooked through but only lightly golden.
Remove and let them rest for 5–10 minutes.
Second fry
Increase the oil temperature to approximately 375°F (190°C).
Fry the egg rolls for another 1–2 minutes until deeply golden and extremely crispy.
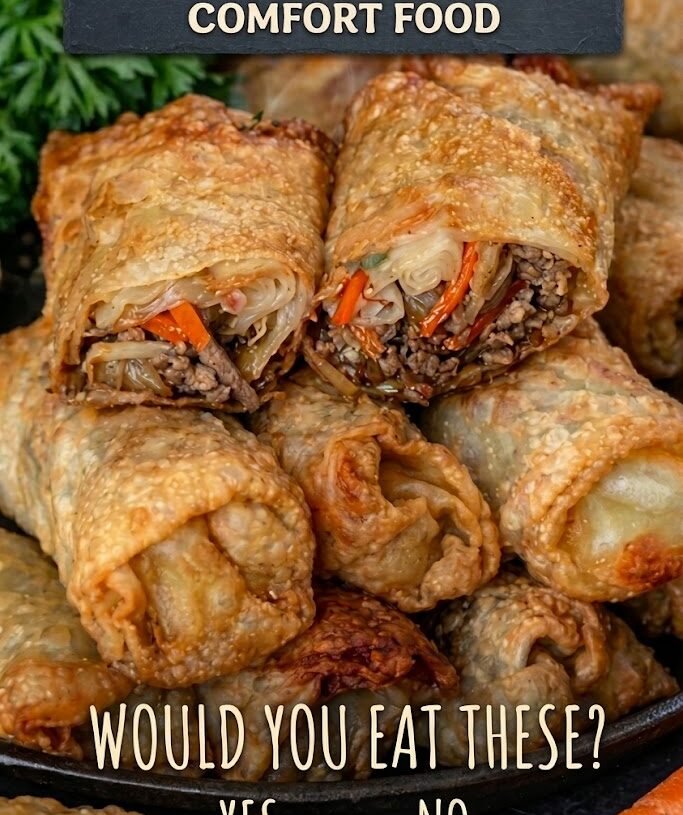
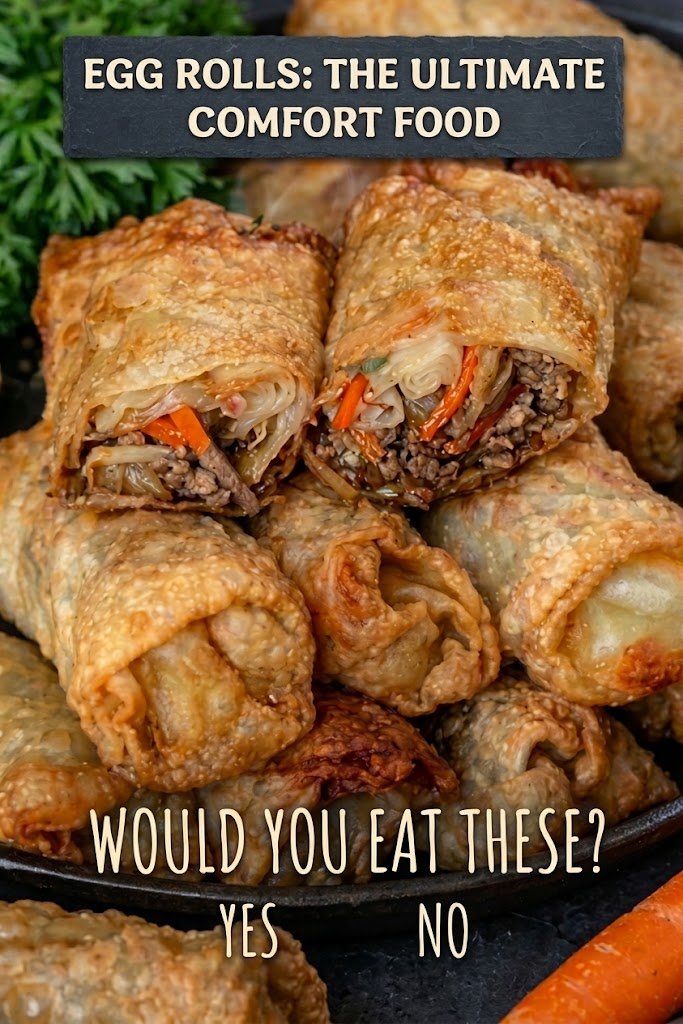
This technique produces that crackly, crunchy exterior seen in the photo.
🥣 Easy Dipping Sauce
For a sweet-savory dipping sauce, combine:
- ¼ cup sweet chili sauce
- 2 tbsp soy sauce
- 1 tbsp rice vinegar
- 1 tsp sesame oil
- 1 tsp honey
- 1 small garlic clove, finely minced
- 1 green onion, finely sliced
Mix together and let it sit for 5–10 minutes before serving.
Spicy version
Add:
- 1–2 tsp sriracha, or
- ½–1 tsp crushed red pepper flakes
🔑 The Secrets to Really Crispy Egg Rolls
1. Remove moisture from the vegetables.
Wet cabbage and carrots can make the filling watery.
2. Cool the filling completely.
Warm filling creates steam and weakens the wrapper.
3. Don’t overfill.
About 2–3 tablespoons per wrapper is usually plenty.
4. Roll tightly.
Loose egg rolls allow oil inside and can unravel.
5. Seal the edges properly.
Cornstarch-water paste works very well.
6. Keep the oil around 350°F/175°C.
Oil that’s too cool produces greasy egg rolls; oil that’s too hot burns the wrapper before the filling heats through.
7. Don’t overcrowd the pot.
Fry in batches.
8. Drain on a wire rack.
This keeps the bottom from becoming soggy.
🧊 Make-Ahead & Freezing
These are excellent for making ahead.
Arrange uncooked wrapped egg rolls on a parchment-lined tray without touching each other.
Freeze for approximately 1–2 hours, until solid.
Then transfer them to a freezer bag or airtight container.
You can fry them directly from frozen.
Add approximately 2–4 minutes to the frying time and make sure the center reaches a safe temperature.
Don’t thaw them first—the wrapper can become wet and prone to splitting.
🌟 My Recommended Filling Ratio
For the closest result to the egg rolls in your picture, I’d use:
1 lb beef + 2 cups cabbage + 1 large carrot + 3 oz glass noodles + onion + garlic + ginger.
That combination gives you the distinctive filling with visible beef, orange carrot strips, translucent noodles, and crunchy vegetables, while keeping the filling substantial enough for a dinner-sized egg roll.
Serve them hot with sweet chili sauce, spicy garlic sauce, or a soy-vinegar dipping sauce.