Ingredients List
- Non-fat plain Greek yogurt
- PB2 powdered peanut butter
- Sugar-free sweetener of choice
- Vanilla extract (optional)
- Pinch of salt (optional)

Each ingredient is intentionally chosen to maximize flavor while minimizing points and calories.
Preparation Method Overview
This is a no-bake recipe, making it ideal for beginners and experienced cooks alike. No oven, stove, or special equipment is required—just a bowl, a spatula, and a little patience while the mixture sets.
The process is straightforward: mix, spread, chill, and slice. Despite its simplicity, the final result looks polished and professional.
Step 1: Mixing the Base
Begin by adding the non-fat Greek yogurt to a medium mixing bowl. Make sure the yogurt is thick and well-drained, as excess moisture can affect the final texture.
Gradually add the PB2 powdered peanut butter, stirring continuously until fully incorporated. The mixture should become thick, smooth, and uniform in color.
Step 2: Sweetening and Flavoring
Add your preferred sugar-free sweetener, adjusting the amount based on personal taste. Stir thoroughly to ensure even distribution.
If using vanilla extract and salt, add them at this stage. These small additions significantly enhance the overall flavor profile without adding points.
Step 3: Achieving the Right Consistency
The final mixture should be thick, spreadable, and creamy—similar to soft fudge or peanut butter frosting. If the mixture is too thick, add a small spoonful of yogurt. If too thin, add a bit more PB2.
Consistency is key to achieving clean slices once chilled.
Step 4: Setting the Fudge
Line a small square pan or dish with parchment paper. Transfer the mixture into the pan and spread evenly using a spatula.
Smooth the surface for a clean, professional look. Lightly tap the pan on the counter to remove air bubbles.
Step 5: Chilling Process
Place the pan in the refrigerator for at least 3–4 hours, or until fully set. For a firmer texture, the fudge can also be placed in the freezer for 1–2 hours.
Proper chilling ensures that the squares hold their shape when sliced.
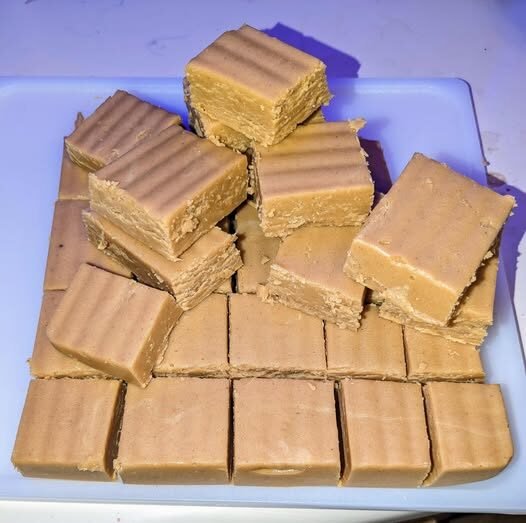
Step 6: Cutting and Portioning
Once set, remove the fudge from the pan using the parchment paper. Place it on a cutting board and slice into small, even squares.
Using a sharp knife wiped clean between cuts will give the neatest edges.
Storage and Shelf Life
Store the fudge bites in an airtight container in the refrigerator for up to 5–7 days. They can also be frozen for longer storage and enjoyed straight from the freezer for a firmer, candy-like texture.
These bites travel well, making them perfect for meal prep, lunchboxes, or on-the-go snacks.