Easy Skinny Ice Cream Sandwiches
Introduction
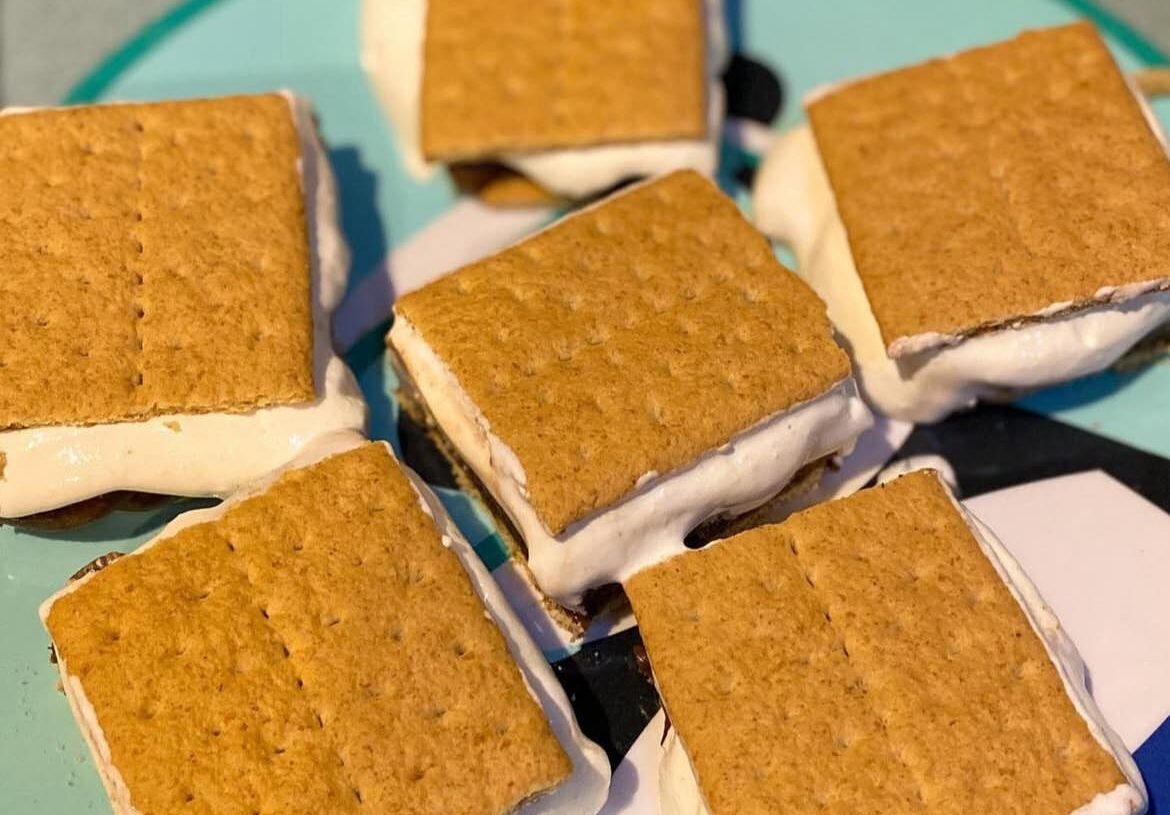
When the weather heats up or you’re simply craving a frozen treat, these WW Easy Skinny Ice Cream Sandwiches offer the perfect solution. Light, delicious, and low in SmartPoints, these no-fuss desserts are made using simple, accessible ingredients like low-fat graham crackers, light whipped topping, and sugar-free pudding mix.
This version of the classic ice cream sandwich delivers all the creamy, cool satisfaction of traditional versions—but with a fraction of the calories and sugar. It’s the ideal summer dessert for those following the Weight Watchers (WW) program, those watching their sugar intake, or anyone looking for a healthier way to indulge in something sweet and cold.
Unlike store-bought ice cream treats, which can run upwards of 10 SmartPoints each, these homemade sandwiches come in around 2–3 SmartPoints per serving depending on the brand of ingredients used. They’re incredibly easy to customize, and you don’t even need an ice cream machine or fancy tools.
Why You’ll Love This Recipe
 Low in WW SmartPoints (2–3 per sandwich)
 Cool, creamy, and satisfying
 Only 3 main ingredients + endless variations
 Quick prep – under 10 minutes
 Freezer-friendly for up to 2 months
 Kid-friendly and customizable
 No baking, no churn, no fuss
Ingredients
Yield: 12 sandwiches (1 sandwich = 1 serving)
- 12 full sheets low-fat graham crackers (each sheet broken in half to make 24 squares)
- 1 (8 oz) container light whipped topping (such as fat-free Cool Whip)
- 1 package (1 oz) sugar-free, fat-free instant pudding mix (flavor of your choice—vanilla, chocolate, or banana cream work great)
- ½ cup unsweetened almond milk or fat-free milk (just enough to moisten pudding mix)
- Optional: mini chocolate chips, crushed fruit, sprinkles, or cocoa powder for variety
Equipment Needed
- Mixing bowl
- Whisk or hand mixer
- Rubber spatula
- Measuring cups
- Large baking sheet or tray
- Parchment paper or wax paper
- Freezer space

Step-by-Step Instructions
Step 1: Prepare the Whipped Filling
In a medium bowl, combine the dry sugar-free pudding mix with ½ cup milk. Whisk vigorously for about 1–2 minutes until thickened but not fully set. The goal is to create a pudding base that’s thick and creamy but still soft enough to blend smoothly.
Step 2: Fold in Whipped Topping
Gently fold in the light whipped topping using a rubber spatula. Stir slowly and evenly until the pudding and whipped topping are fully combined. The texture should be thick, fluffy, and spreadable—similar to soft-serve ice cream.
Step 3: Freeze the Filling Briefly (Optional but Recommended)
For easier spreading, place the whipped filling mixture in the freezer for about 10–15 minutes. This firms it up slightly, making it easier to assemble the sandwiches without melting or slipping.
Step 4: Lay Out Graham Crackers
Break each full graham cracker sheet in half so that you have 24 square pieces. Arrange 12 squares flat-side down on a parchment-lined baking sheet.
Step 5: Spread the Filling
Scoop about 2 tablespoons of the whipped filling onto each of the 12 bottom cracker squares. Use a spatula or butter knife to spread evenly but not to the edges (it will spread when you top it).
Step 6: Top and Press
Place the remaining 12 cracker squares on top of the filling, gently pressing down to form sandwiches. Be careful not to press too hard to avoid breaking the crackers.
Step 7: Smooth the Edges (Optional)
Use a spatula or knife to smooth any filling that squeezes out. At this stage, you can also roll the sides in mini chocolate chips, crushed berries, nuts, or low-point sprinkles for added flair.
Step 8: Freeze Firmly
Place the tray of sandwiches into the freezer for at least 3 hours, or until they are completely firm and hold their shape when picked up. For best texture, freeze overnight.
Step 9: Wrap Individually
Once frozen solid, wrap each sandwich in plastic wrap or place them in individual zip-top bags. This helps prevent freezer burn and makes them grab-and-go ready.
Step 10: Enjoy!
Eat straight from the freezer like a traditional ice cream sandwich. Let sit at room temperature for 1–2 minutes if they’re too firm to bite right away.
Nutrition Information (Per Sandwich)
- Calories: 95
- Fat: 2.5g
- Saturated Fat: 0.5g
- Carbohydrates: 15g
- Fiber: 1g
- Sugar: 2g (mostly natural from crackers)
- Protein: 1g
- Net Carbs: 14g
WW SmartPoints (per sandwich): 2–3
(Points calculated using sugar-free pudding, light whipped topping, and low-fat graham crackers. Use the WW app to recalculate based on brand.)
Storage Tips
- Refrigerator: Not recommended. These sandwiches are meant to be eaten frozen.
- Freezer: Store in a sealed freezer-safe container or wrapped individually for up to 2 months.
- Meal Prep Friendly: Great for keeping a stash of portion-controlled treats on hand.
Flavor Variations
- Chocolate Dream: Use chocolate pudding with chocolate graham crackers.
- Berry Burst: Fold in a few chopped strawberries or raspberries before freezing.
- Cookies and Cream: Mix in crushed Oreo Thins (optional – adjust points).
- Peanut Butter Banana: Use banana pudding and add PB2 powder to the mix.
- Mint Chip: Use mint pudding with mini chocolate chips and mint extract.
Helpful Tips
- Use cold ingredients for easier mixing and faster freezing.
- Don’t overfill—2 tablespoons of filling per sandwich is ideal.
- Break crackers carefully to prevent uneven sizes.
- Adjust milk as needed—use less for thicker filling, more for creamier texture.
- Make mini sandwiches with just 1 tablespoon filling and quartered graham crackers.
Ingredient Notes
- Sugar-free pudding mix: Adds flavor and structure without sugar.
- Light whipped topping: Keeps the creaminess without excess fat.
- Low-fat graham crackers: Provide the perfect soft crunch after freezing.
Kid-Friendly and Party Approved
These ice cream sandwiches are so simple that kids can help make them. They’re perfect for summer birthday parties, barbecues, and picnics. For a more festive touch, use cookie cutters to shape the sandwiches before freezing.